Week 2
After learning to use Fusion 360 to export DXF files for laser cutting, I decided to take the in-class activity of creating a press-fit kit to the next level by creating a modular organizational system for my desk. Indeed, my current setup is quite disorganized, and I have always wanted to buy draw dividers to seperate different components. However, this assignment seemed like the perfect opportunity to make some of my own!
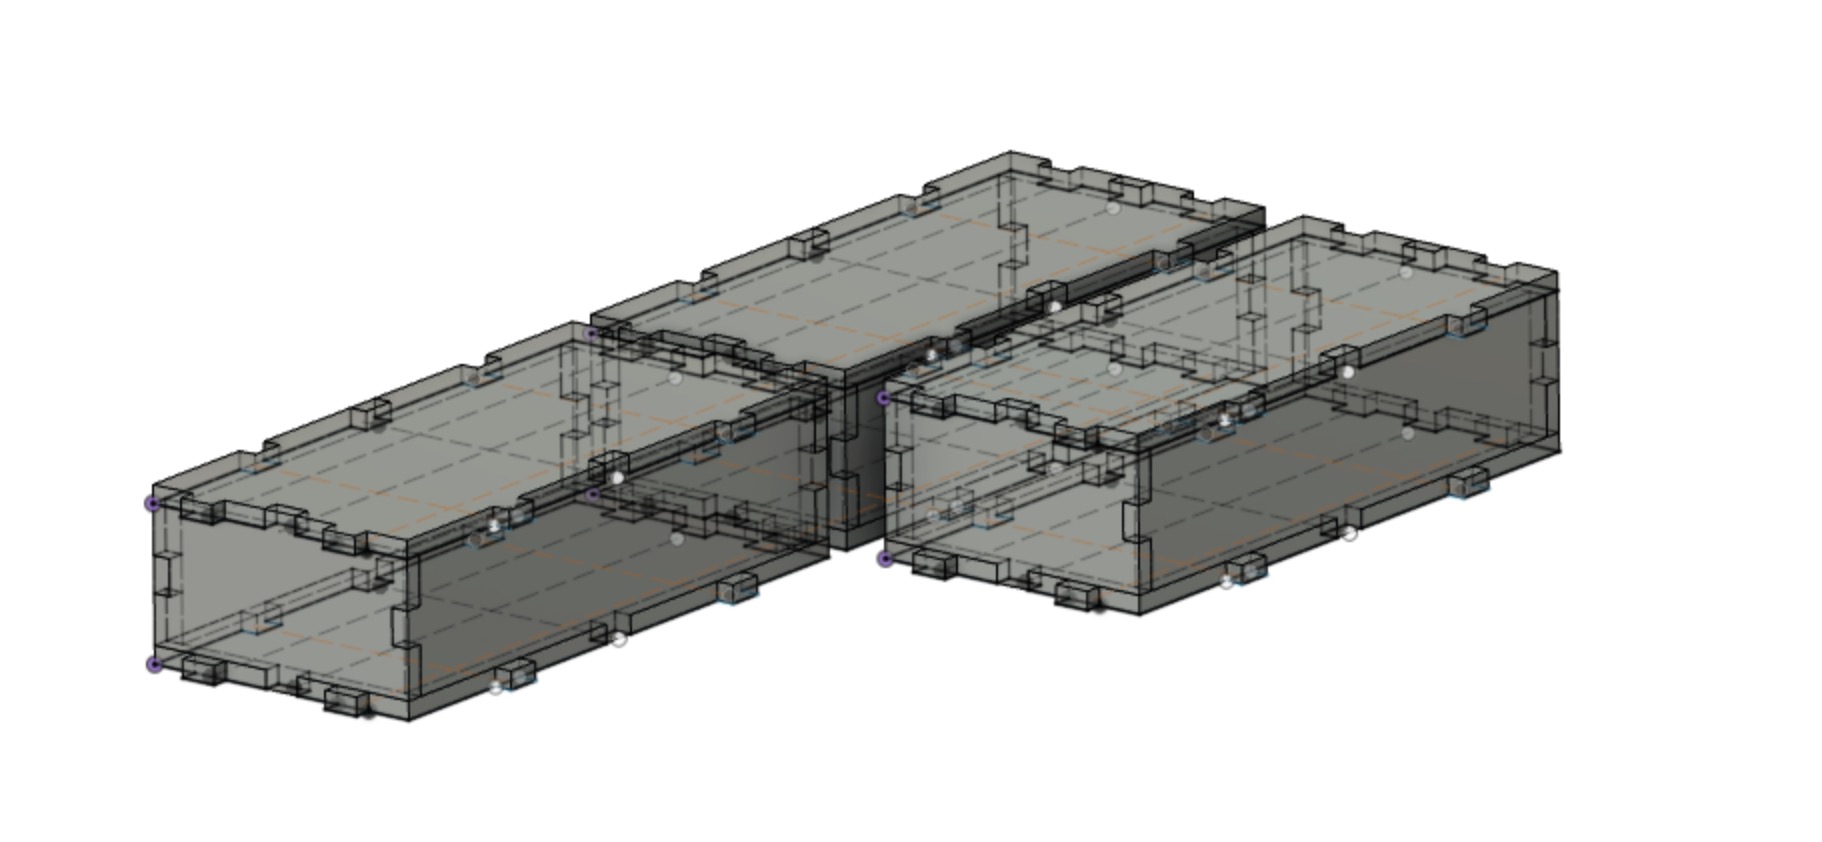
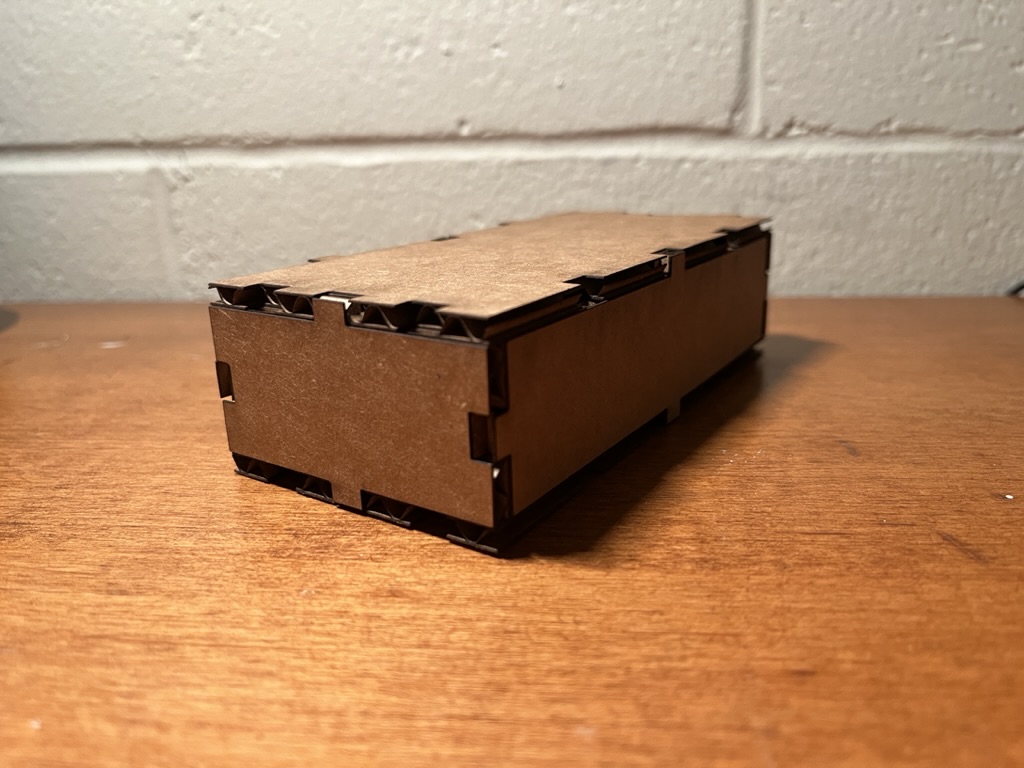
To do so, I used the sketch tool in Fusion to outline a rectangular shape. I then created construction lines at the midpoints of the rectangle so as to have references as to where to place the notches. Using the rectangle tool again, I cut away or added rectangular notches at each of these reference points. The result was three distinct pieces (a top, front, and side) which could be used together to create a complete box. Due to symmetries in the design, you can use the three pieces to create as many six-piece boxes as you would like—the boxes will even link together!
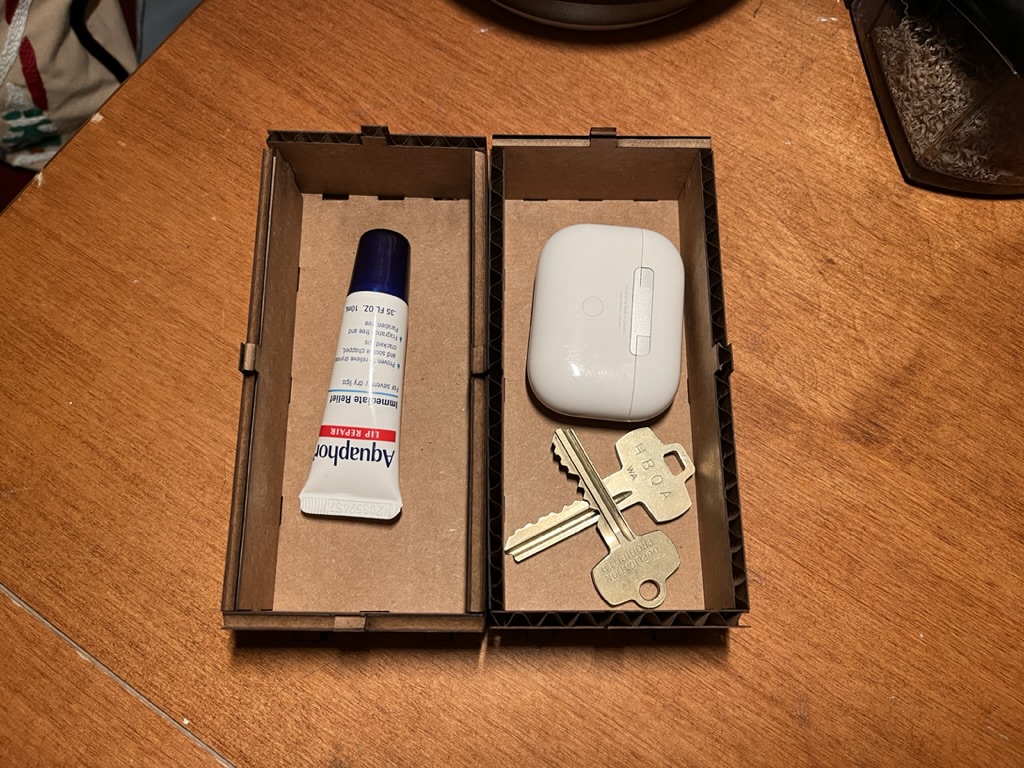
This linking together of pieces and boxes is accomplished using custom notches. However, on my first attempt at the design, I failed to account for the kerf of the laser which made the notches too small and their corresponding holes too wide to create a tight fit. On my second attempt I resolved this issue, however, another issue with the focus of the laser caused the pieces to cut incorrectly. Finally, on my third attempt I did not run into any additional issues, and I was able to successfully create the press-fit desk organizers pictured here!
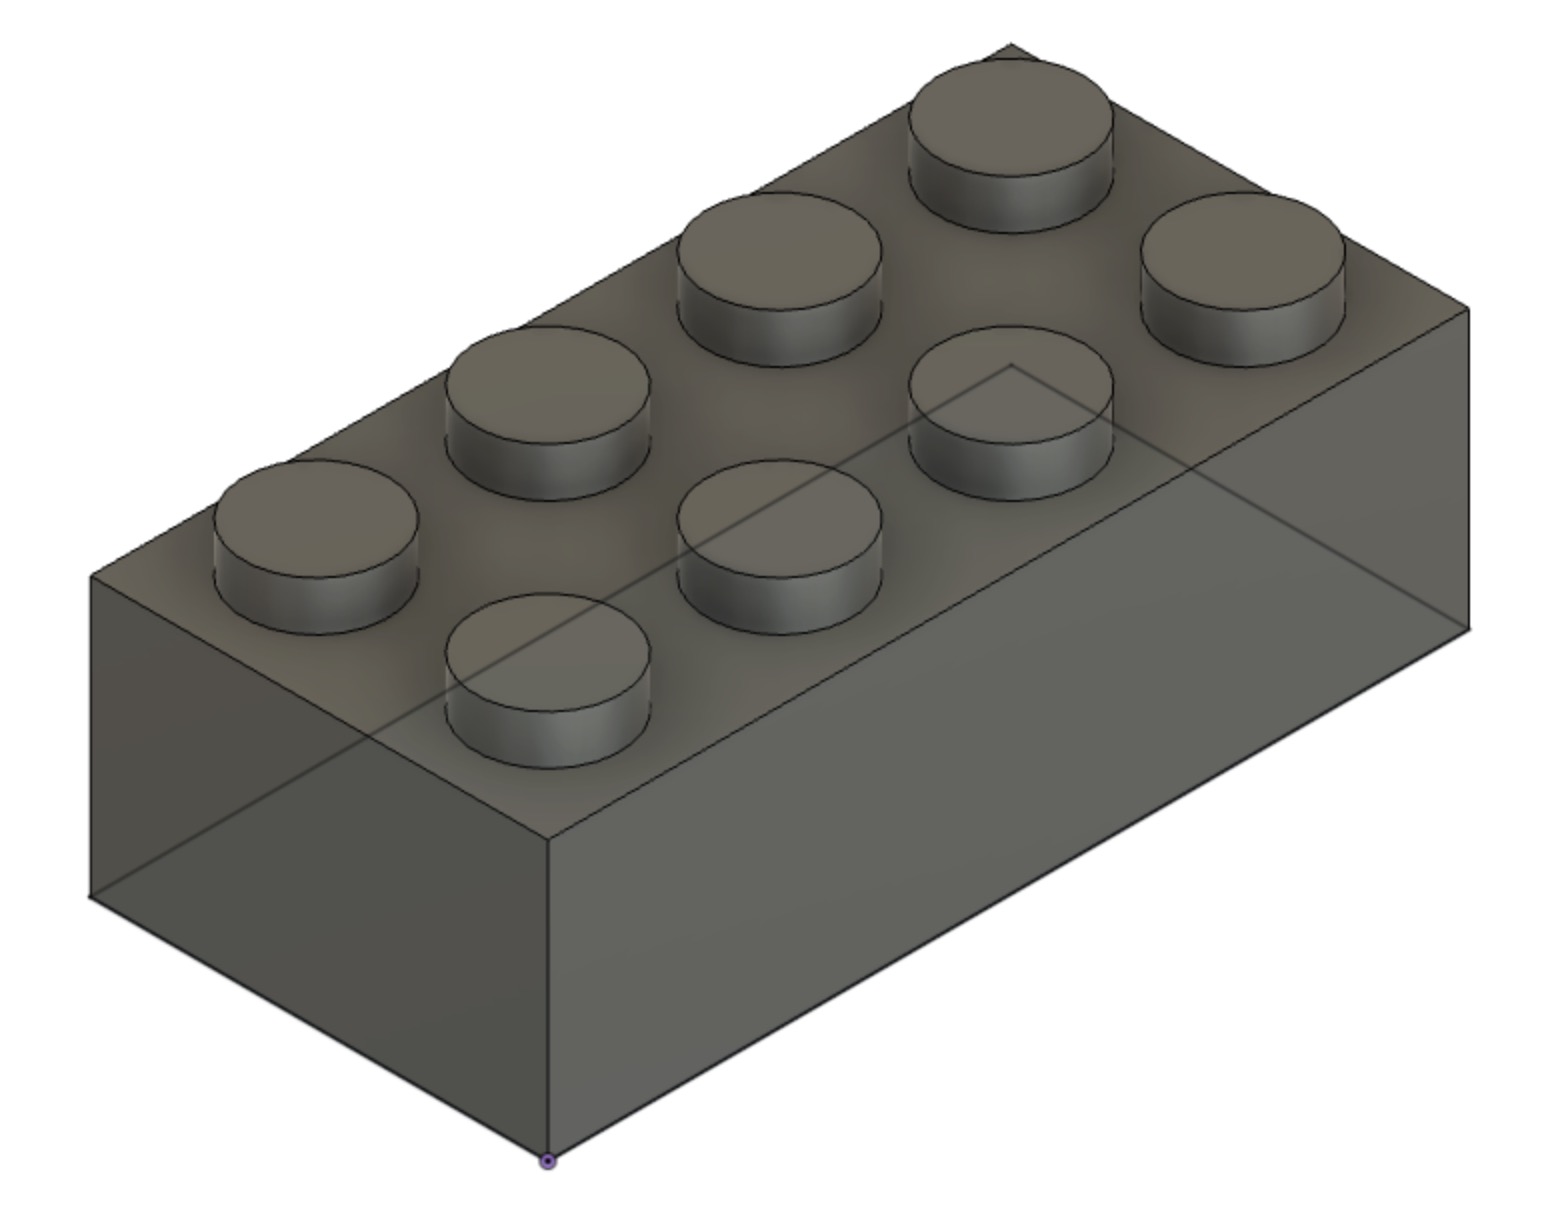
To become more comfortable with Fusion 360, I also followed an online tutorial that taught me to how to model a Lego brick. Though relatively simplistic, this tutorial covered sketching, dimensioning, extrusions, mirroring, patterns, shells, and more. Now that I have completed it, I certainly feel more comfortable with my 3D modeling skills!
Project 1: Apple Pencil
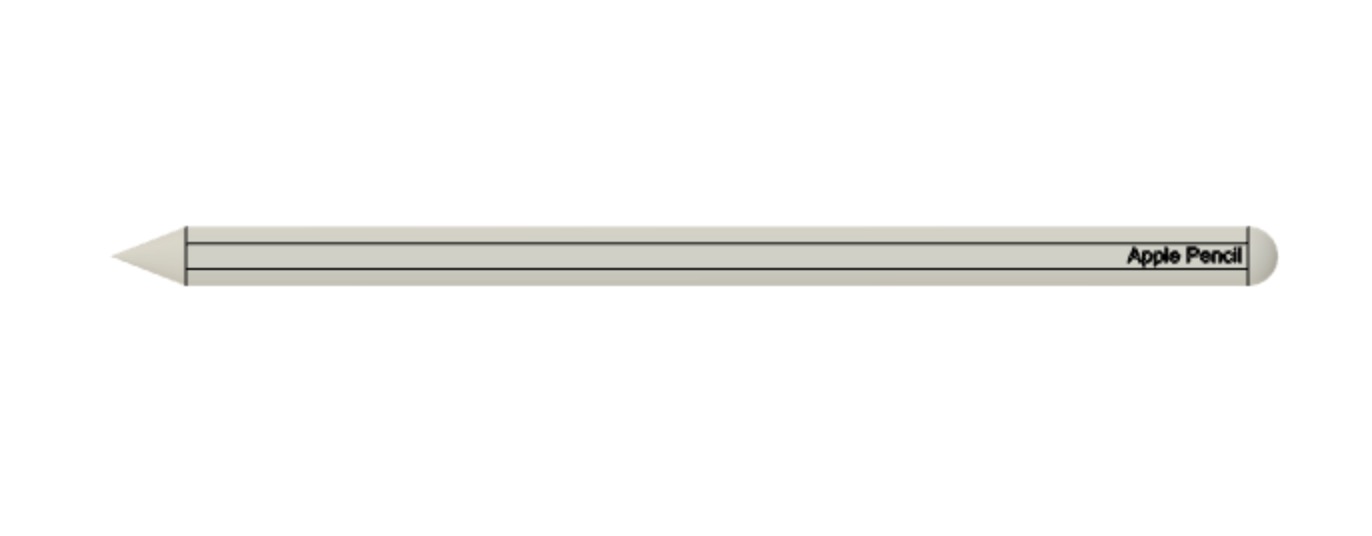
To further my 3D modeling experience, I was tasked with modeling two household objects. The first item that I chose to model was an Apple Pencil that I use with my iPad nearly everyday. Though seemingly simple, I was attracted by the flatness on one side of the pencil as well as the elegant transitions between the body of the pencil and the eraser/tip. Luckily, modeling the pencil proved to be relatively striaghtforward—I simply sketched the right side of the pencil and revolved it around a central axis to create a circular object. I then subtracted away a rectangular section to create the iconic flat part of the pencil. In completing this project, I learned that conceptualizing the 3D part and the best process to go about modeling it is oftentimes the hardest part. After you have a solid plan, the modeling itself can be relatively straightforward.
Project 2: Flower Pot
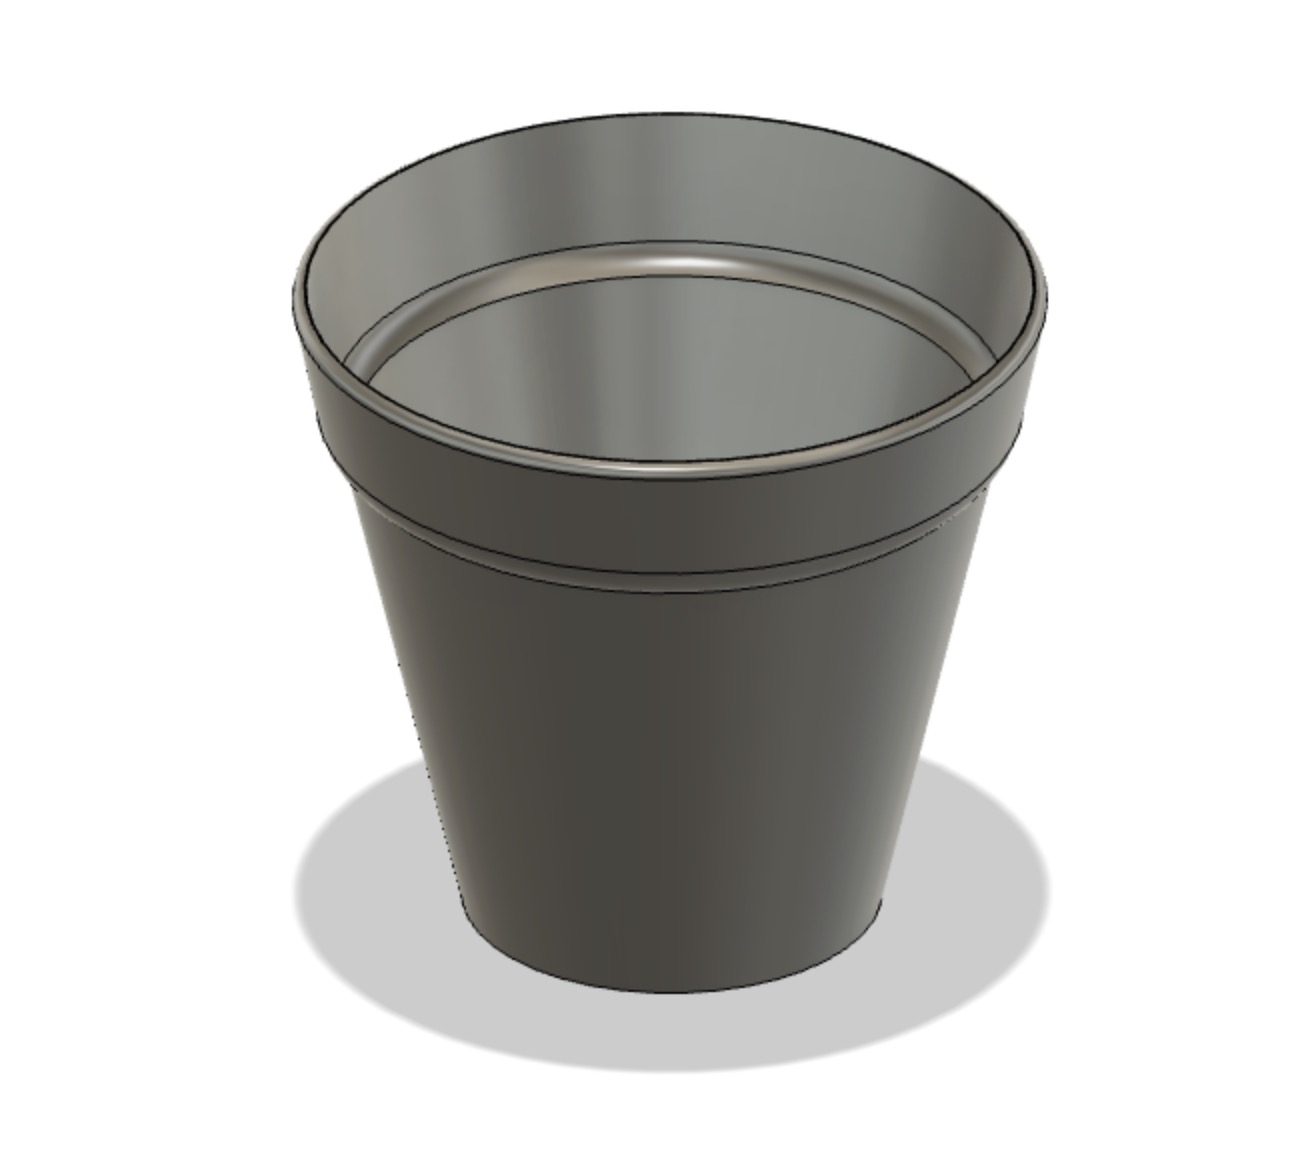
After modeling the pencil, I felt prepared to move onto something more advanced: the flower pot currently sitting on my room. Given that one of my final project ideas is to create an automated plant watering system, I figured that modeling a pot for the plant could be a good first step. To do so, I used the technique of revolving a cross section about an axis that I learned with the Apple Pencil, and applied fillets, shells, and additional extursions to form the final part. While the final result doesn't exactly match the flower pot in my room, I am happy with the overall result!
(To practice creating assemblies, I also made a model of an Apple Pencil inside a flower pot. You can download it here.)
