
Final Project
For almost the entirety of the first semester (and much of second semester as well), I struggled to wake up on time. Using only my phone's built in clock app, I found it too easy to sleep through alarms or ignore them until I was late for class. When I nearly missed a final exam, I knew it was time for a change.
Ultimately, this change came in the form of a "smart alarm clock"—one with enough features to truly motivate me to get out of bed. In particular, the alarm clock that I created is able to play a tone, open the blinds, and spray you with water when it is time to wake up.
As portrayed in the video above, the process for using this alarm clock is as follows:
- Set the alarm using the web interface at www.ps-70-clock.vercel.app
- Wait for the alarm to sound at the set time.
- Initially, the alarm clock will play a pleasent tone and open the blinds.
- If the button is pressed during this time, the alarm will be silenced and the system will reset.
- However, if the alarm is not silenced during the initial song, the system will begin spraying water out of a nozzle and playing a more aggrevating tone until it is silenced.
While this system is not perfect, it is certainly more motivating than my previous alarm clock! Indeed, I look forward to using it for all of my early-morning alarms going forward.
- 2 x ESP32 S2 - To control the alarm clock system and shade/water system, respectively
- 1 x LCD Screen - To display the appropriate time and alarm status
- 1 x Piezo Buzzer (Large) - To generate alarm sounds as appropriate
- 1 x Small Tactile Button - For silencing the alarm
- 1 x DC 3V 12A Mini Air Pump - To spray water from the reservoir
- 1 x 5V Relay Module - To control power to the pump
- 1 x Nema 17 Stepper Motor - To raise and lower the blinds
- 1 x DRV8834 Low-Voltage Stepper Driver - To control the stepper motor
- 1 x 100uF Capacitor - For protecting the stepper motor driver from voltage spikes
- 1 x 10kΩ Resistor - For reading the digital input from the button
- 6 x M6 x 10mm Screws - For assembling the stepper motor holder and attaching it to the rest of the system
- 2 x 5V Power Supply - For powering the alarm clock and shade/water systems
- 1 x 6mm Thick Sheet of Plywood - For laser cutting the respective component housings
- ~250 g of PLA Plastic - For 3D printing the necessary components
As can be seen in the demo video above, this alarm clock is actually composed of three subsystems—a software system to set the time and transmit it to the ESP32s, an alarm clock system to display the current time and sound an alarm, and a shade/water system to open the blinds and spray the user with water.
While the latter two systems could have been combined into one, I made the decision early on to seperate them. Not only did this allow me to position the spray nozzle and blind pulling system exactly where I wanted it, but it also forced the user to move further to silence the alarm—thereby ensuring that you are even more awake by the time the alarm is finished.
To create this project, I worked on each of the three systems in weeks 10, 11, and 12/13, respectively. My week by week progress on each of these systems can be seen in the documentation below!
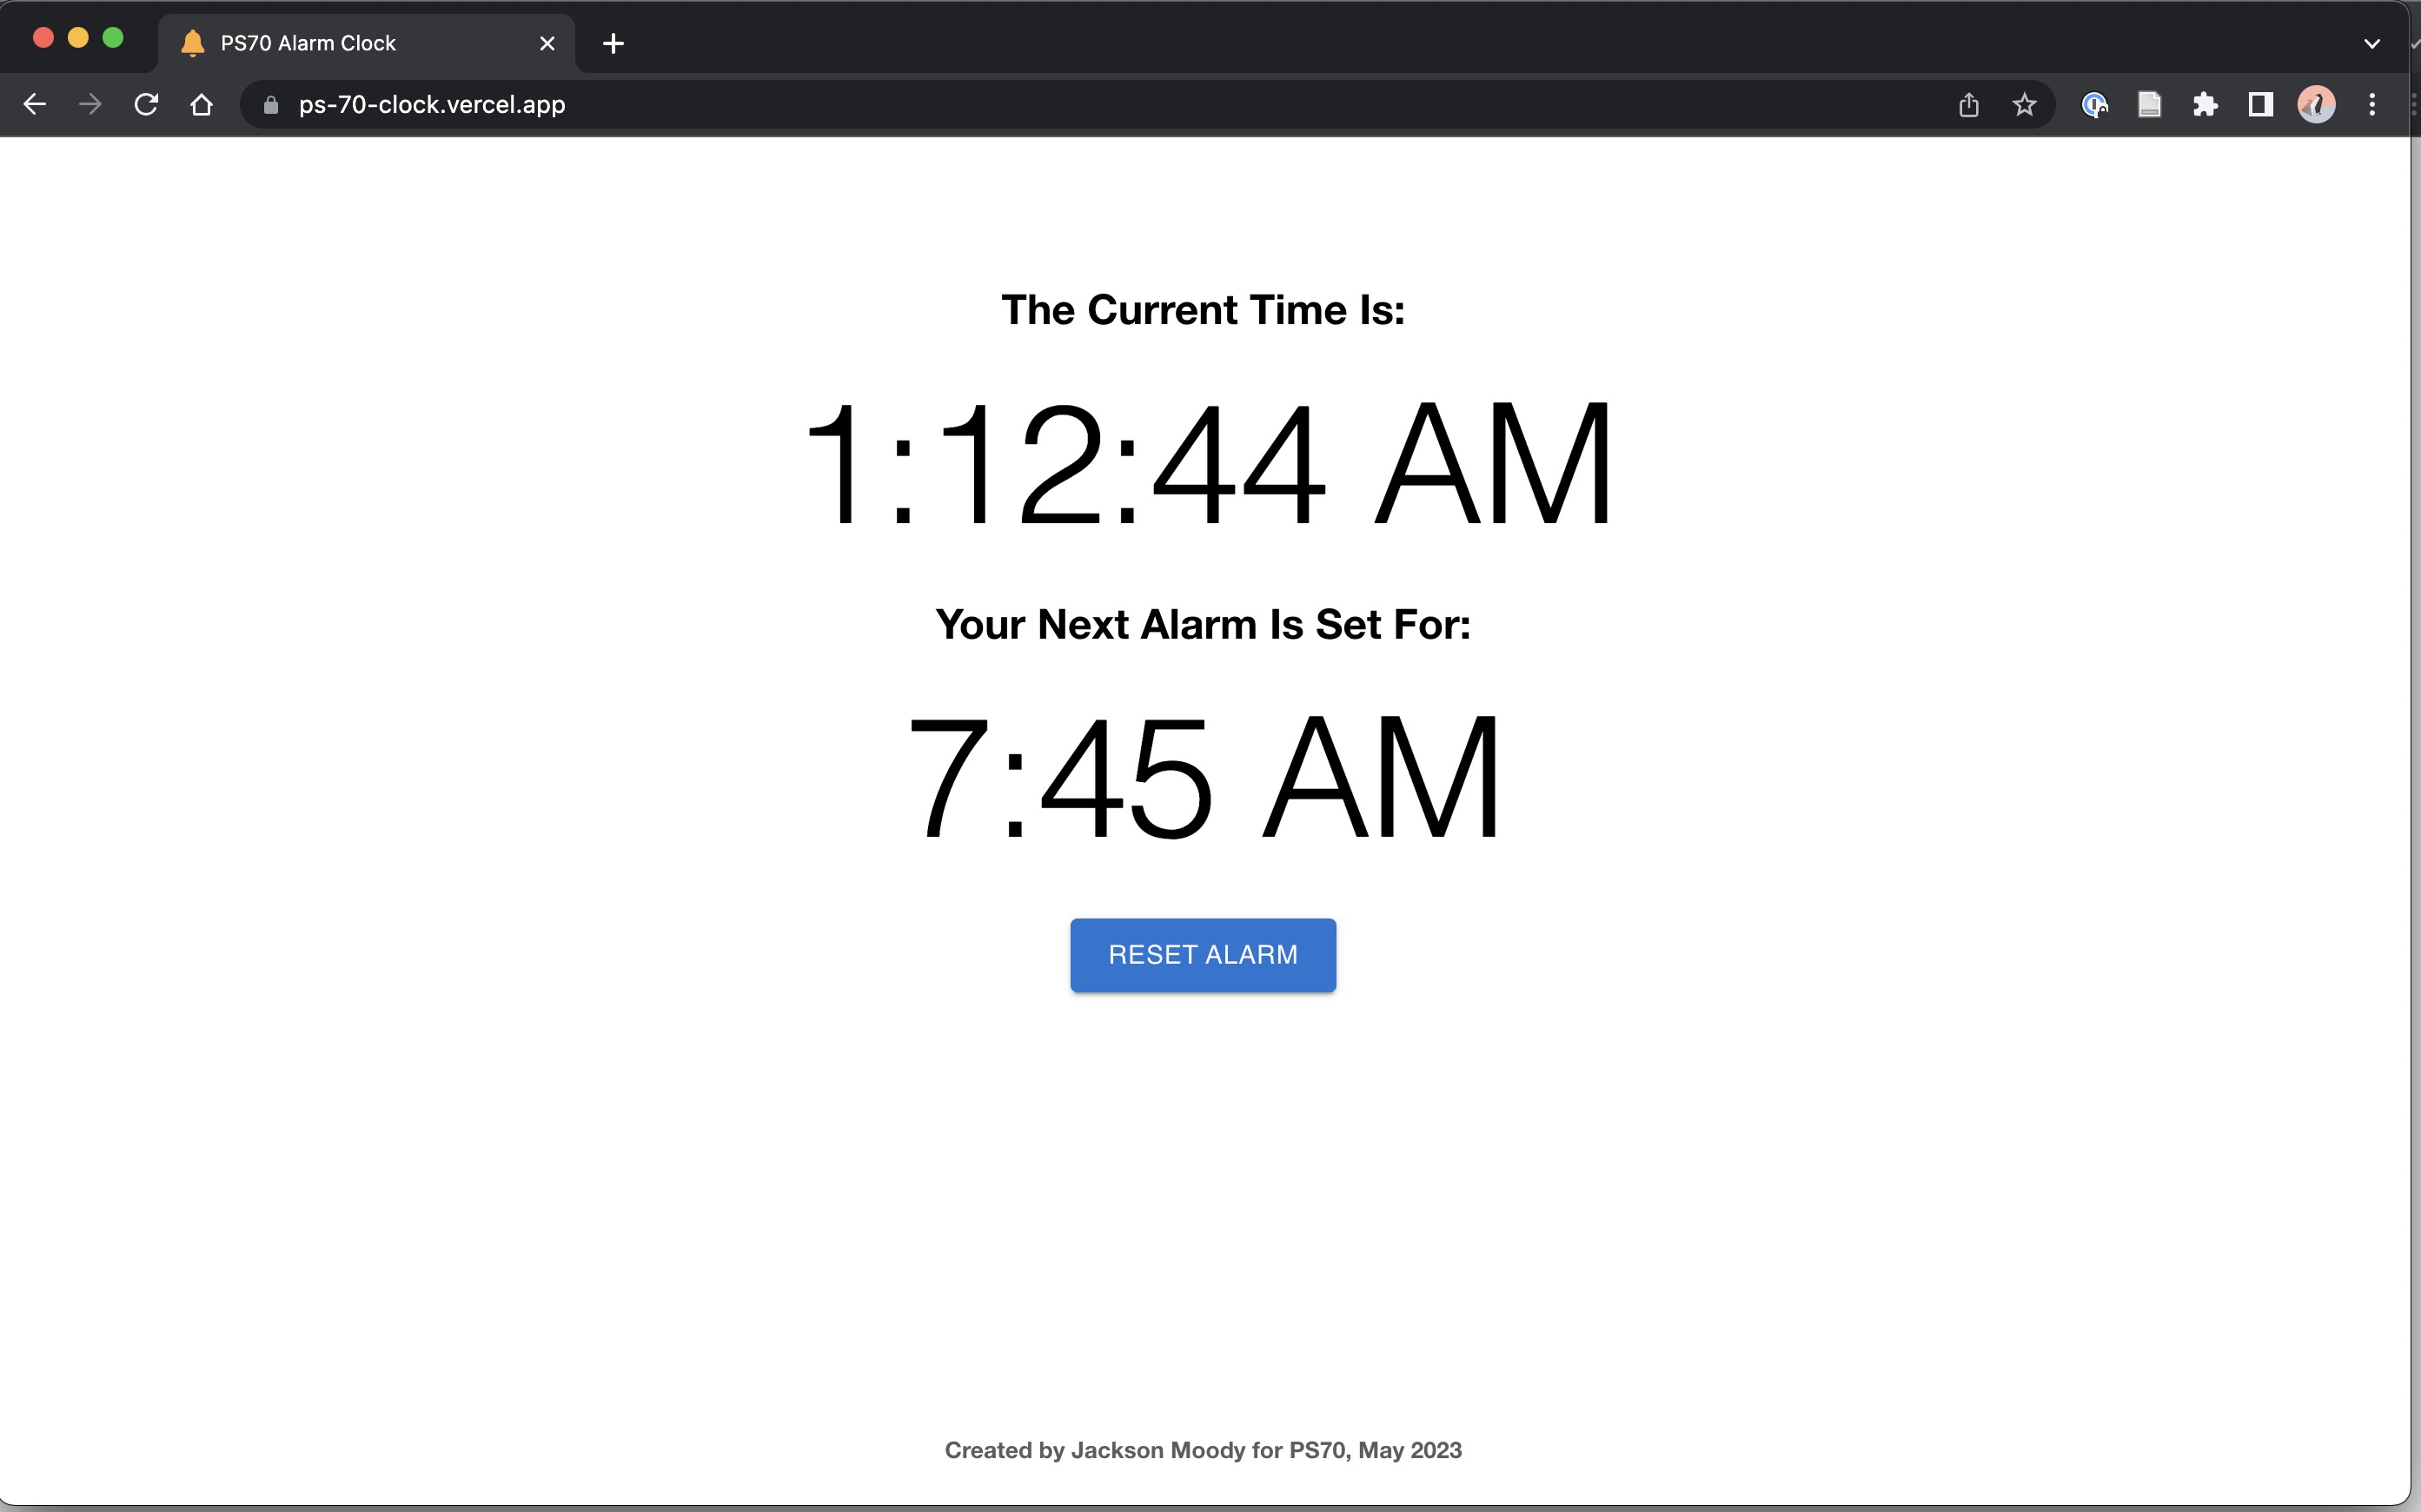
In week 10, we were tasked with "making a serious attempt at the most challenging/intimidating aspect of [the] final project." Seeing as I was making an alarm clock, some of the most critical aspects to nail down were those surrounding the time.
In particular, I decided early on that it would be more interesting to have users set the time on an internet-connected device rather than on the alarm clock itself. However, to create this functionality, I needed to develop both a frontend and a backend application. Ultimately, I chose to accomplish this by building a frontend site using React and Material UI, and a backend API using Node.js and Express.
On the frontend, I used the built-in Date() object in Javascript to determine the current time and Material UI's time picker component to allow users to choose a desired alarm time. Once they do so, it is displayed and sent to the backend via a POST request.
The backend itself was built using Node.js and Express, with seperate endpoints for the alarm time and the state that the alarm clock is currently in (with different integers corresponding to the shade opening, water spraying, etc.) Moreover, both the frontend and backend sites were hosted using Vercel—a tool for deploying basic web applications for free. This allowed me (and anyone else) to use both the frontend and backend 24/7.
To finish the minimum viable product, I used an in-class tutorial that we had followed to connect an ESP32 to the internet and to the backend that I had just created. To ensure that the ESP32 always had the current time, I also connected it to timeapi.io—a free API that returns the time in an easy to use format. By the end of the week, the ESP32 was able to print out whether or not the current time matched a time the user had set!
For reference, the full code for both the frontend site and backend API is below:
import './App.css';
import dayjs from 'dayjs';
import { useState, useEffect } from 'react';
import { enUS } from "@mui/material/locale";
import { LocalizationProvider } from '@mui/x-date-pickers';
import { AdapterDayjs } from '@mui/x-date-pickers/AdapterDayjs';
import Container from "@mui/material/Container";
import Box from "@mui/material/Box";
import Typography from "@mui/material/Typography";
import Alarm from './Alarm';

function App() {
  const [alarm, setAlarm] = useState(dayjs('2022-04-17T15:30'));
  const [alarmSet, setAlarmSet] = useState(false);
  const [loading, setLoading] = useState(true);
  const [time, setTime] = useState(new Date());

  async function getAPI(url) {

    const response = await fetch(url);

    let data = await response.json();
    console.log(data);
    if (response) {
        setLoading(false);
        setAlarm(data.alarm);
        if (data.alarm !== "") {
          setAlarmSet(true);
        } else {
          setAlarmSet(false);
        }
    }
}

  useEffect(() => {
    const interval = setInterval(() => {
      setTime(new Date());
      getAPI("https://ps70-final.vercel.app/alarm");
    }, 1000);

    return () => clearInterval(interval);

  }, []);

  function getRandomInt(min, max) {
    min = Math.ceil(min);
    max = Math.floor(max);
    return Math.floor(Math.random() * (max - min + 1)) + min;
  }

  function process(newValue) {
    setAlarmSet(true);
    setLoading(true);
    const jsonData = JSON.stringify({
      alarm: newValue.format('h:mm A'),
    });

    fetch('https://ps70-final.vercel.app/alarm', {
      method: 'POST',
      mode: 'cors',
      headers: {
        'Accept': 'application/json',
        'Content-Type': 'application/json'
      },
      body: jsonData
    })
      .then(response => console.log(response))
  }

  function cancel() {
    setAlarmSet(false);
    setAlarm("");

    const jsonData = JSON.stringify({
      alarm: ""
    });
    fetch('https://ps70-final.vercel.app/alarm', {
      method: 'POST',
      mode: 'cors',
      headers: {
        'Accept': 'application/json',
        'Content-Type': 'application/json'
      },
      body: jsonData
    })
      .then(response => console.log(response))
  }

  return (
    <div className="App">
      <LocalizationProvider dateAdapter={AdapterDayjs} localeText={
        {
          ...enUS,
          okButtonLabel: "Set Alarm",
          cancelButtonLabel: "Cancel",
        }
      }>
        <Container component="main" maxWidth="sm">
          <Box
            sx={{
              marginTop: 8,
              display: "flex",
              flexDirection: "column",
              alignItems: "center",
            }}
          >
            <h2>The Current Time Is:</h2>
            <Typography component="h1" variant="h1">
              {time.toLocaleTimeString()}
            </Typography>
            <Alarm alarm={alarm} setAlarm={alarmSet} cancel={cancel} process={process} loading={loading}/>
          </Box>
        </Container>
        <div className="footer">
          <h5>Created by Jackson Moody for PS70, May 2023</h5>
        </div>
      </LocalizationProvider>
    </div>
  );
}

export default App;
import Typography from "@mui/material/Typography";
  import { MobileTimePicker } from '@mui/x-date-pickers/MobileTimePicker';
  import Button from "@mui/material/Button";
  import CircularProgress from '@mui/material/CircularProgress';
  import dayjs from 'dayjs';

  export default function Alarm(props) {
      if (props.setAlarm && !props.loading) {
          return (
              <>
                  <h2 component="h1" variant="h4">
                      Your Next Alarm Is Set For:
                  </h2>
                  <Typography component="h1" variant="h1">
                      {props.alarm}
                  </Typography>
                  <Button variant="contained" size="large" onClick={() => props.cancel()} sx={{ marginTop: 3 }}>Reset Alarm</Button>
              </>
          )
      } else if (!props.loading) {
          return (
              <>
                  <h2 component="h1" variant="h4">
                      You have no alarms set. Please select a time below:
                  </h2>
                  <MobileTimePicker
                      label="Set Alarm"
                      defaultValue={dayjs()}
                      onAccept={(newValue) => props.process(newValue)}
                  />
              </>
          )
      } else {
          return (
              <CircularProgress sx={{marginTop: 5}}/>
          )
      }
  }
const express = require('express');
const cors=require("cors");

const app = express();
const port = 3000;

let stateOutput = {
  state: 0,
  id: 0,
};

let alarmOutput = {
  alarm: "",
}

const corsOptions ={
   origin:'*',
   credentials:true,
   optionSuccessStatus:200,
}

app.use(cors(corsOptions))
app.use(express.json());

app.get('/alarm', (req, res) => {
  res.send(alarmOutput);
})

app.get('/state', (req, res) => {
  res.send(stateOutput);
})

app.post('/alarm', (req, res) => {
  console.log(req.body);
  alarmOutput = {
    alarm: req.body.alarm,
  }
  res.send("Set data to {req.body.alarm}");
})

app.post('/state', (req, res) => {
  console.log(req.body);
  stateOutput = {
    state: req.body.state,
    id: req.body.id,
  }
  res.send("Set data to {req.body.state} and {req.body.id}");
})


app.listen(port, () => {
  console.log("API Started On Port {port}");
})

module.exports = app;
In week 11, we were tasked with working on the "integrated design" of our project. For me, this meant taking the ESP32 that I had connected to the internet last week and connecting it with the other components.
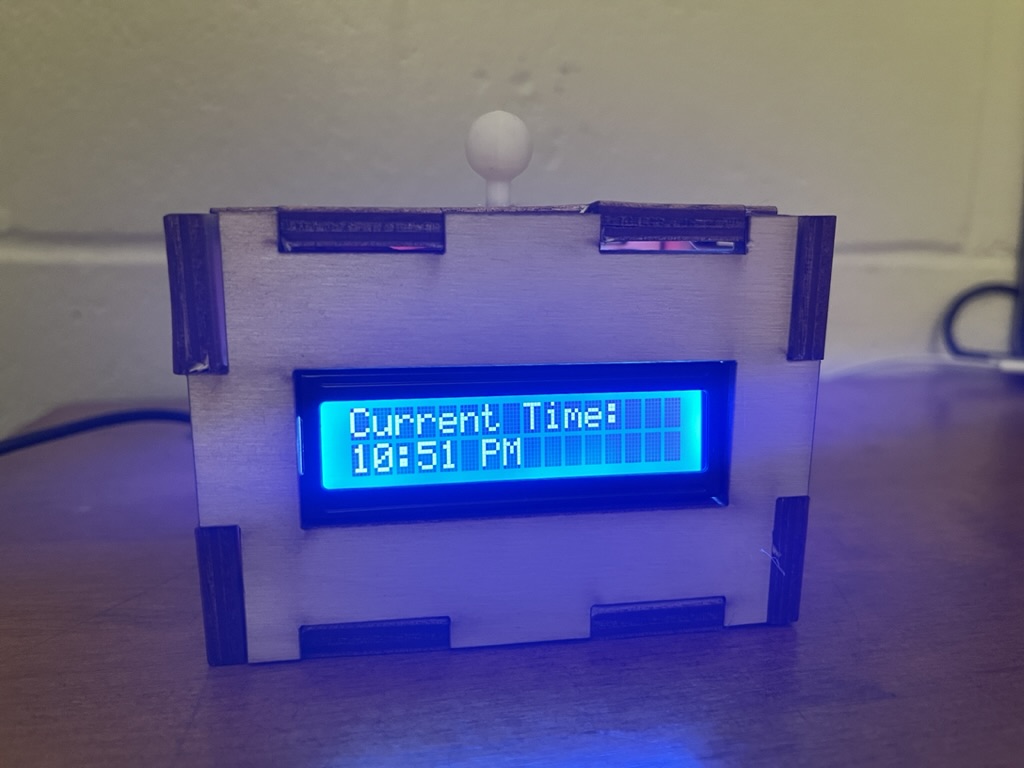
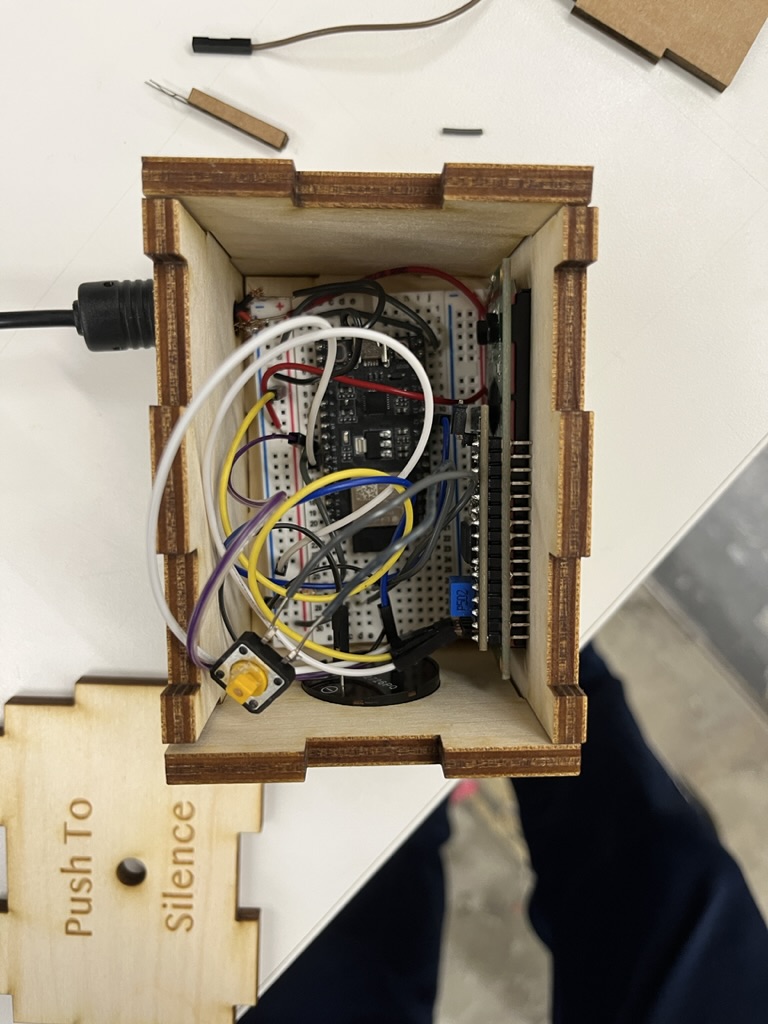
In particular, I followed this Random Nerd Tutorial to connect the ESP32 to an LCD display using I2C. Using my work from Week 7, I also connected the ESP32 to a piezo buzzer and a button. By modifying the code from the previous week, I was able to make it such that the LCD displayed the current time and the buzzer played a tune if the current time matched a time set by the user.
Importantly, I also made it such that the ESP32 sent a POST request to the backend anytime the alarm went off or if the user pressed the silence button—this allows the other system (with the blinds and water) to stay up to date with the current state of the alarm.
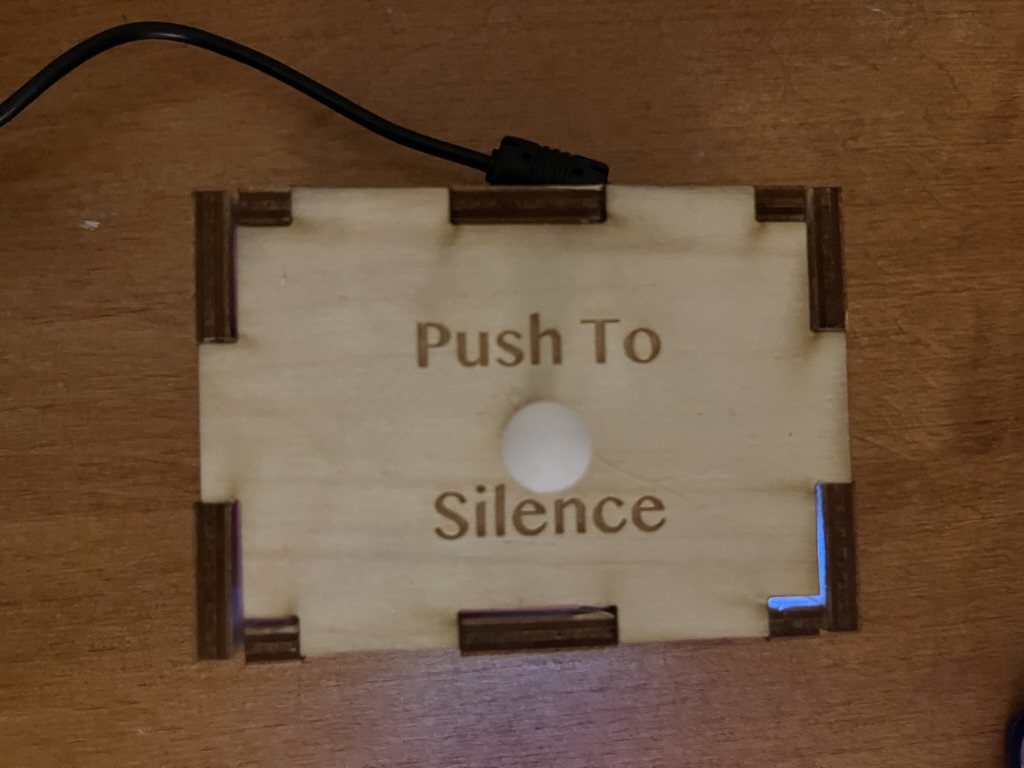
Once everything was working correctly, I used MakerCase to create an enclosure for the system. After adding holes using Inkscape, I then laser cut the enclosure out of 6mm thick wood and 3D printed a custom button for the top.
For reference, the full code running on the ESP32 is below, along with download links to the custom button and files for laser cutting the enclosure.

  #include <WiFi.h>
  #include <HTTPClient.h>
  #include <ArduinoJson.h>
  #include <Wire.h>
  #include <LiquidCrystal_I2C.h>

  LiquidCrystal_I2C lcd(0x27, 16, 2);

  const char* ssid = "INSERT WIFI NAME HERE";
  const char* password = "INSERT WIFI PASSWORD HERE";

  const int tempo = 140;
  int state = 1;
  const int buttonPin = 4;
  const int buzzerPin = 32;
  boolean buttonPressed = false;
  String timeFormatted = "";

  int melody[] = {
    //Add desired melody here, alternating the note and duration on each line
  };

  int notes = sizeof(melody) / sizeof(melody[0]) / 2;
  int wholenote = (60000 * 4) / tempo;
  int divider = 0, noteDuration = 0;

  String url = "https://timeapi.io/api/Time/current/coordinate?latitude=42&longitude=-71";
  String ip = "";
  String alarmTime = "";

  class Buzzer {
    int pin;
    unsigned long previousMillis;
    boolean outputTone;

  public:
    Buzzer(int inputPin) {
      pin = inputPin;
      previousMillis = 0;
      outputTone = false;
      pinMode(pin, INPUT);
    }

    void playSong() {
      for (int thisNote = 0; thisNote < notes * 2; thisNote = thisNote + 2) {
        divider = melody[thisNote + 1];
        if (divider > 0) {
          noteDuration = (wholenote) / divider;
        } else if (divider < 0) {
          noteDuration = (wholenote) / abs(divider);
          noteDuration *= 1.5;
        }
        if (digitalRead(buttonPin) == HIGH || buttonPressed) {
          buttonPressed = true;
          lcd.clear();
          lcd.setCursor(0, 0);
          lcd.print("Current Time:");
          lcd.setCursor(0, 1);
          lcd.print(timeFormatted);
          return;
        }
        tone(pin, melody[thisNote], noteDuration * 0.9);
        delay(noteDuration);
        noTone(pin);
      }
    }

    void playAlarm() {
      while (digitalRead(buttonPin == LOW)) {
        byte buttonState = digitalRead(buttonPin);
        if (buttonState == HIGH) {
          buttonPressed = true;
          noTone(pin);
          lcd.clear();
          lcd.setCursor(0, 0);
          lcd.print("Current Time:");
          lcd.setCursor(0, 1);
          lcd.print(timeFormatted);
          HTTPClient http;
          http.begin("https://ps70-final.vercel.app/state");
          http.addHeader("Content-Type", "application/json");
          String bodyJson = "{"state":" + String(1) + ","id":" + String(millis()) + "}";
          http.POST(bodyJson);
          http.end();
          break;
        }
        unsigned long currentMillis = millis();
        if (outputTone) {
          if (currentMillis - previousMillis >= 1000) {
            previousMillis = currentMillis;
            tone(pin, NOTE_E5, 1000);
            outputTone = false;
          }
        } else {
          if (currentMillis - previousMillis >= 1000) {
            previousMillis = currentMillis;
            tone(pin, NOTE_E6, 1000);
            outputTone = true;
          }
        }
      }
    }
  };

  Buzzer buzzer(buzzerPin);

  void setup() {
    Serial.begin(115200);
    Wire.begin(18, 23);
    pinMode(buttonPin, INPUT);

    lcd.init();
    lcd.backlight();
    lcd.setCursor(0, 0);

    WiFi.begin(ssid, password);
    while (WiFi.status() != WL_CONNECTED) {
      Serial.println("Connecting to WiFi");
      lcd.clear();
      lcd.print("Connecting to");
      lcd.setCursor(0, 1);
      lcd.print("WiFi...");
      delay(1000);
    }
    Serial.println("Connected to the WiFi network");

    ip = WiFi.localIP().toString();
  }

  void loop() {
    Wire.begin(18, 23);
    if ((WiFi.status() == WL_CONNECTED)) {
      HTTPClient http;
      http.begin(url);
      int httpResponseCode = http.GET();

      if (httpResponseCode > 0) {
        DynamicJsonDocument doc(400);
        String payload = http.getString();
        DeserializationError error = deserializeJson(doc, payload);
        if (error) {
          Serial.println("Deserialization Error");
          return;
        }
        int hour = int(doc["hour"]);
        int minute = int(doc["minute"]);
        String minuteFormatted = "";
        if (hour > 12) {
          hour = hour - 12;
        } else if (hour == 0) {
          hour = 12;
        }
        if (minute < 10) {
          minuteFormatted = "0" + String(minute);
        } else {
          minuteFormatted = String(minute);
        }
        String hourFormatted = String(hour);
        String colon = ":";
        timeFormatted = hourFormatted + colon + minuteFormatted;
        if (int(doc["hour"]) >= 12) {
          timeFormatted += " PM";
        } else {
          timeFormatted += " AM";
        }
        Serial.println("Current Time: " + timeFormatted);
        http.end();

        http.begin("https://ps70-final.vercel.app/alarm");
        int httpResponseCode = http.GET();
        if (httpResponseCode > 0) {
          DynamicJsonDocument doc(400);
          String payload = http.getString();
          DeserializationError error = deserializeJson(doc, payload);
          if (error) {
            Serial.println("Deserialization Error");
            return;
          }
          alarmTime = doc["alarm"].as<String>();
          Serial.println("Alarm Time: " + alarmTime);

          int buttonState = digitalRead(buttonPin);
          if (buttonState == HIGH) {
            buttonPressed = true;
          }

          if (timeFormatted == alarmTime && state == 1 && !buttonPressed) {
            state = 2;
          }
        }

        http.end();
        http.begin("https://ps70-final.vercel.app/state");
        http.addHeader("Content-Type", "application/json");
        Serial.println("Current State: " + String(state));

        if (state == 1) {
          if (timeFormatted != alarmTime) {
            buttonPressed = false;
          }

          lcd.clear();
          lcd.setCursor(0, 0);
          lcd.print("Current Time:");
          lcd.setCursor(0, 1);
          lcd.print(timeFormatted);
          String bodyJson = "{"state":" + String(state) + ","id":" + String(millis()) + "}";
          http.POST(bodyJson);
          http.end();
        } else if (state == 2 && !buttonPressed) {
          lcd.clear();
          lcd.print("Alarm! Alarm!");
          lcd.setCursor(0, 1);
          lcd.print("Alarm! Alarm!");
          String bodyJson = "{"state":" + String(state) + ","id":" + String(millis()) + "}";
          http.POST(bodyJson);
          http.end();
          state = 3;
          buzzer.playSong();
        } else if (state == 3 && !buttonPressed) {
          http.addHeader("Content-Type", "application/json");
          String bodyJson = "{"state":" + String(state) + ","id":" + String(millis()) + "}";
          http.POST(bodyJson);
          http.end();
          buzzer.playAlarm();
        } else {  //Button Pressed
          state = 1;
        }
      }
    }
  }
In our final weeks, the focus was on wrapping up the final project and tying up any loose ends. For me, this meant building out the last subsystem of the alarm clock: the one controlling the blinds and water pump.
From a software perspective, the code for this system was probably the simplest of the three. Indeed, the ESP32 simply polls the backend API using GET requests and instructs the stepper motor and/or pump if the latest state does not match the current state.
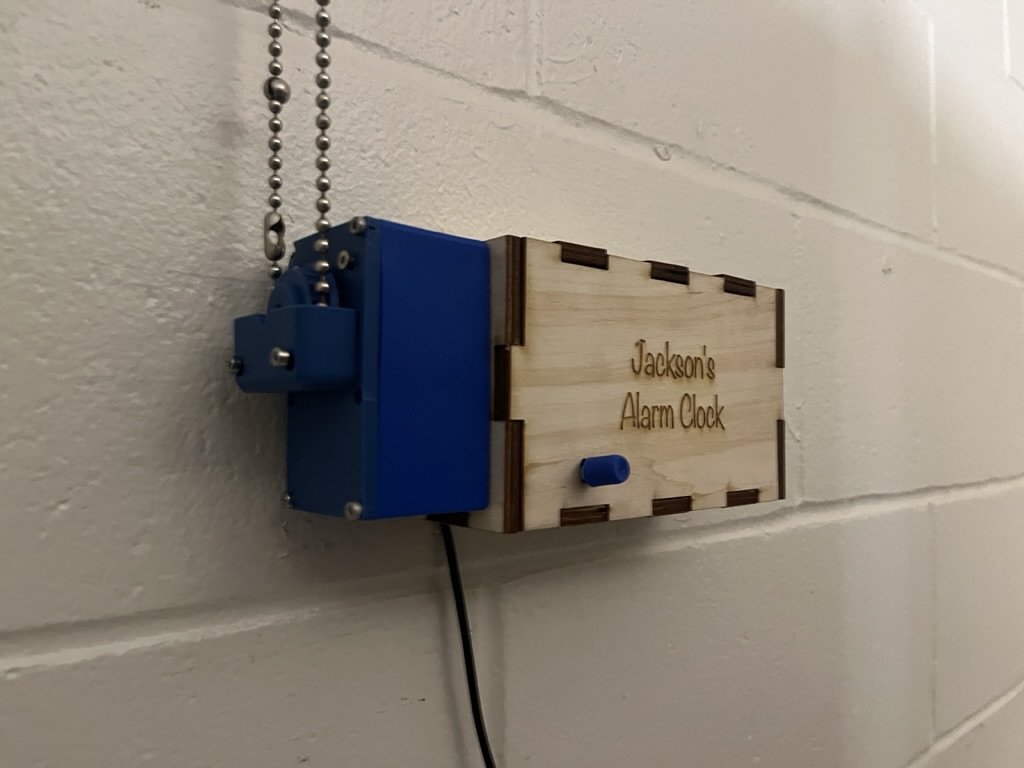
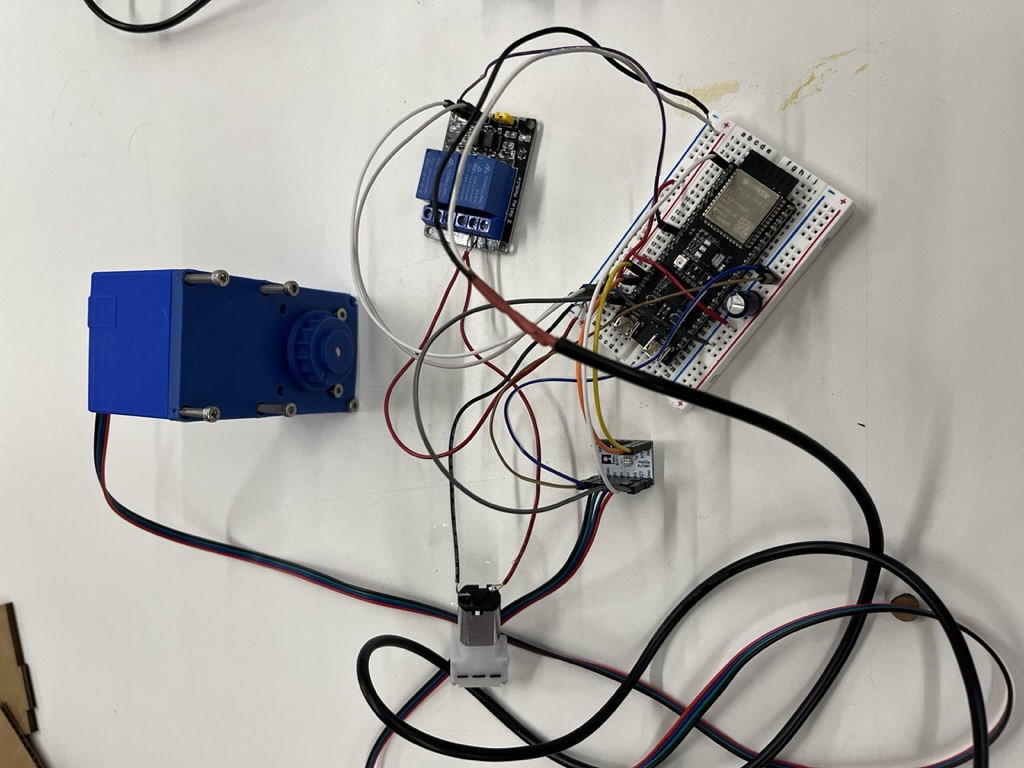
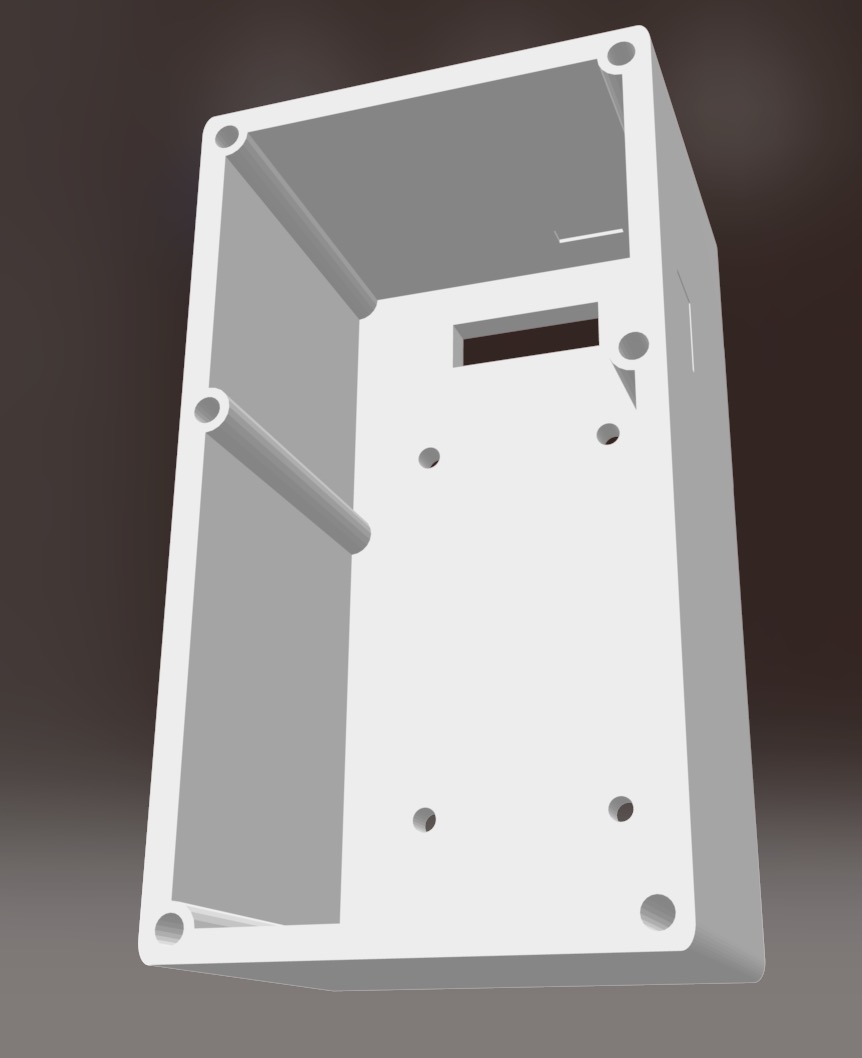
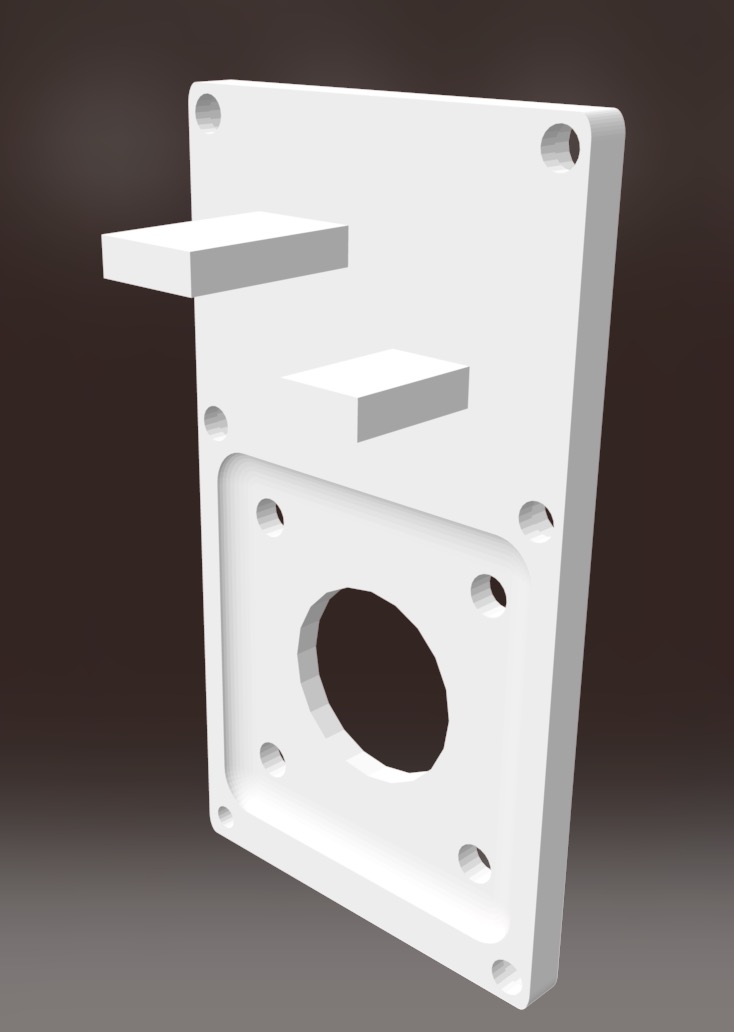
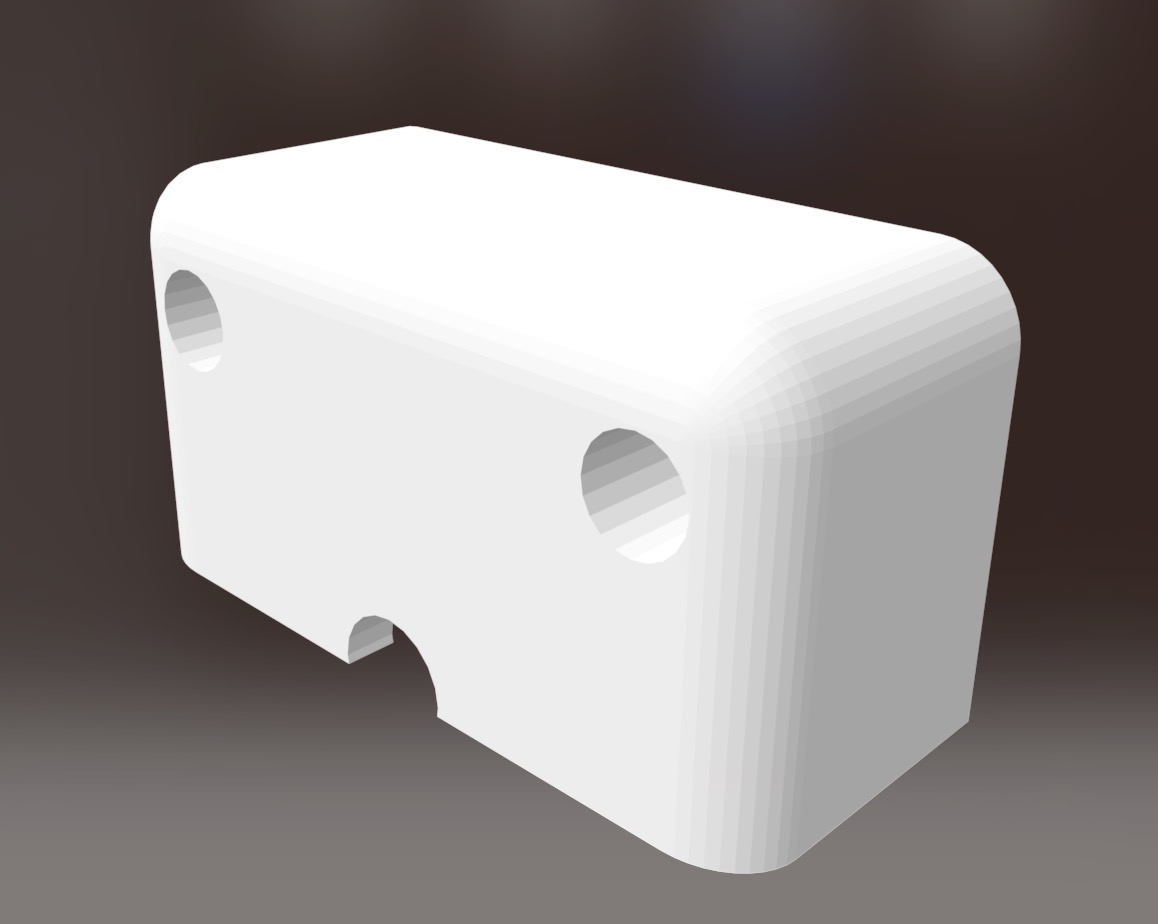
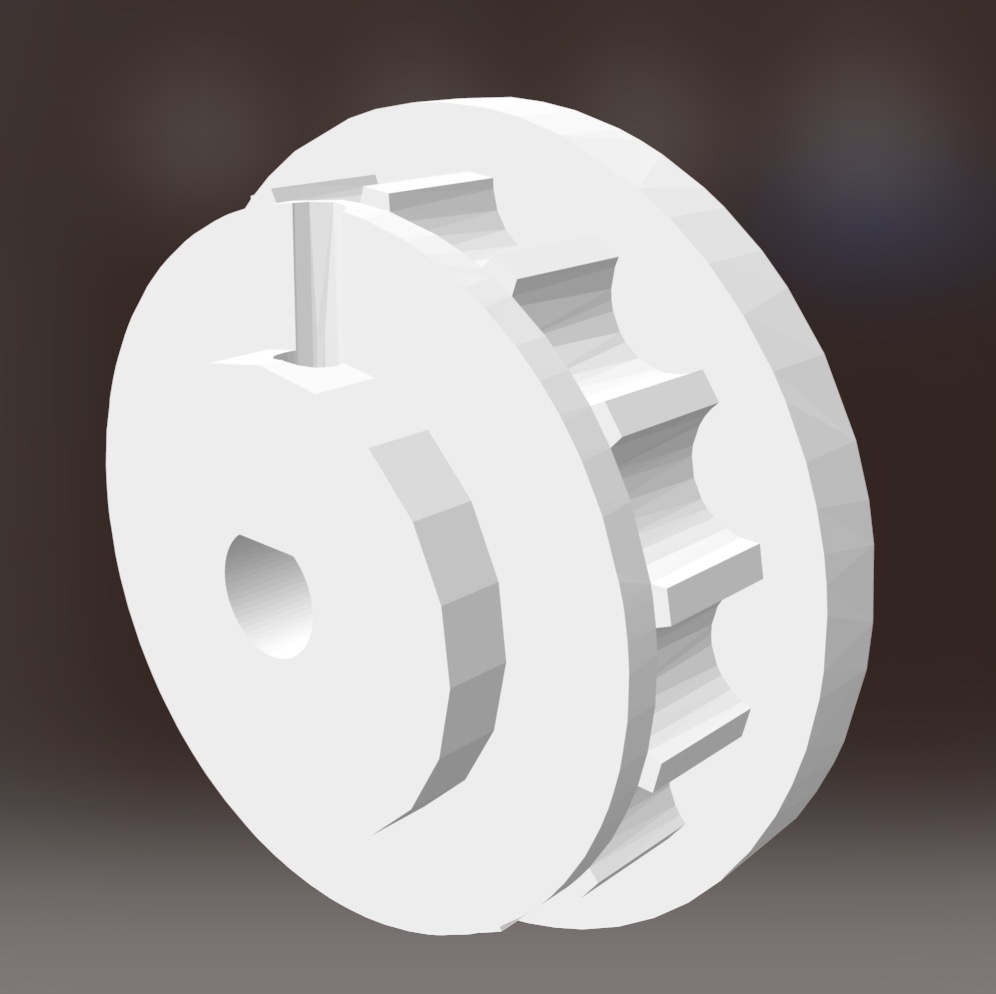
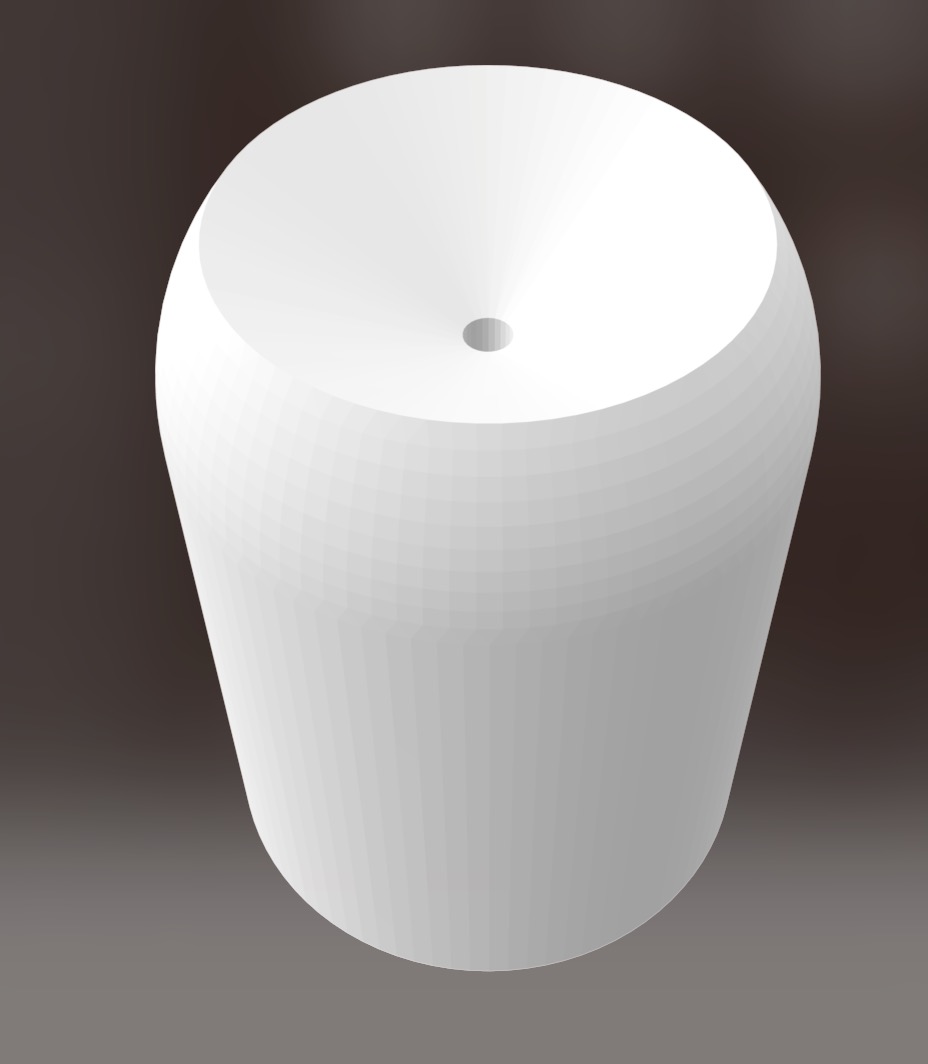
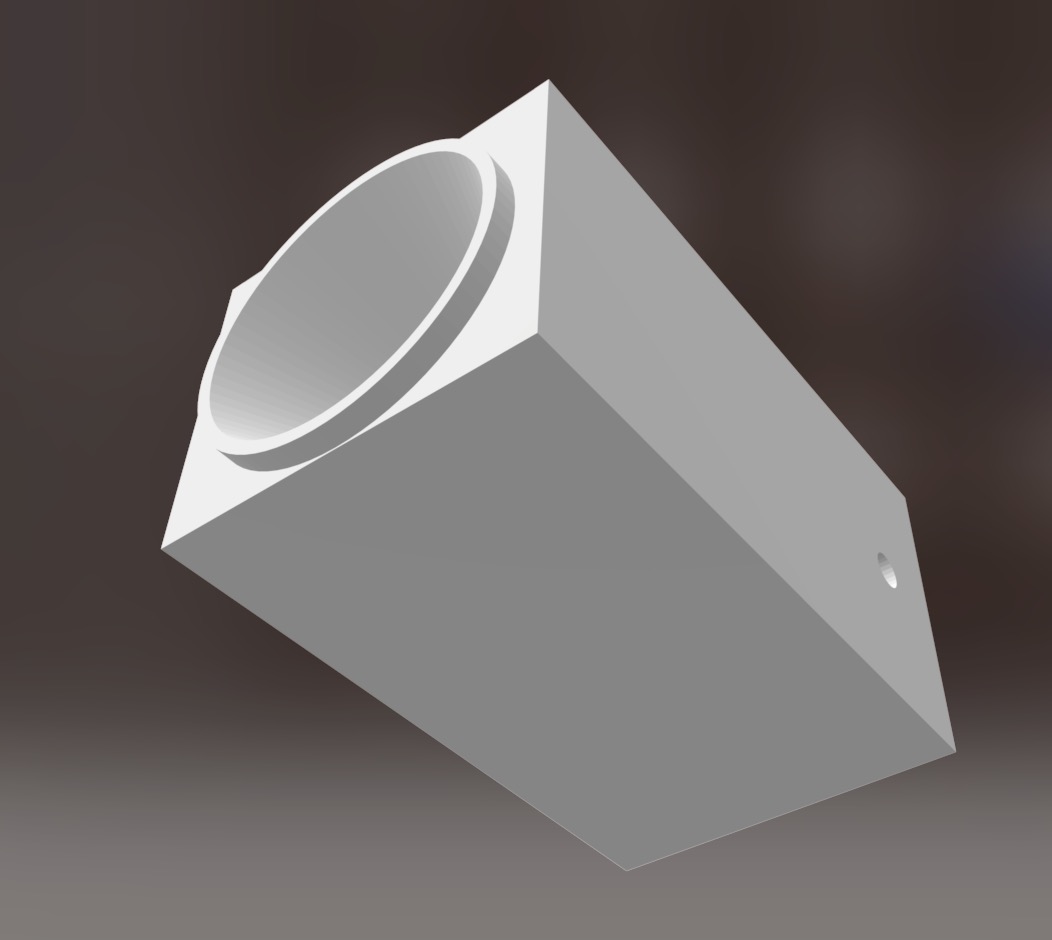
With regard to hardware, however, this system was definitely the most complex. In particular, I needed to 3D print an entire mount for the stepper motor, a water reservoir for the pump, and a nozzle to concentrate the spray of the water.
While the reservoir and casing for the stepper motor were relatively straightforward to design and print (and indeed, I took inspiration from many similar designs), I ran into significant difficulties with the gear attached to the stepper motor and the nozzle. Indeed, both prints had very tight tolerances—they had to align exactly with the blinds in my room and with the hose, respectively. However, seeing as 3D printing is a technology designed for rapid prototyping, I was able to iterate quickly through different designs until I found ones that worked.
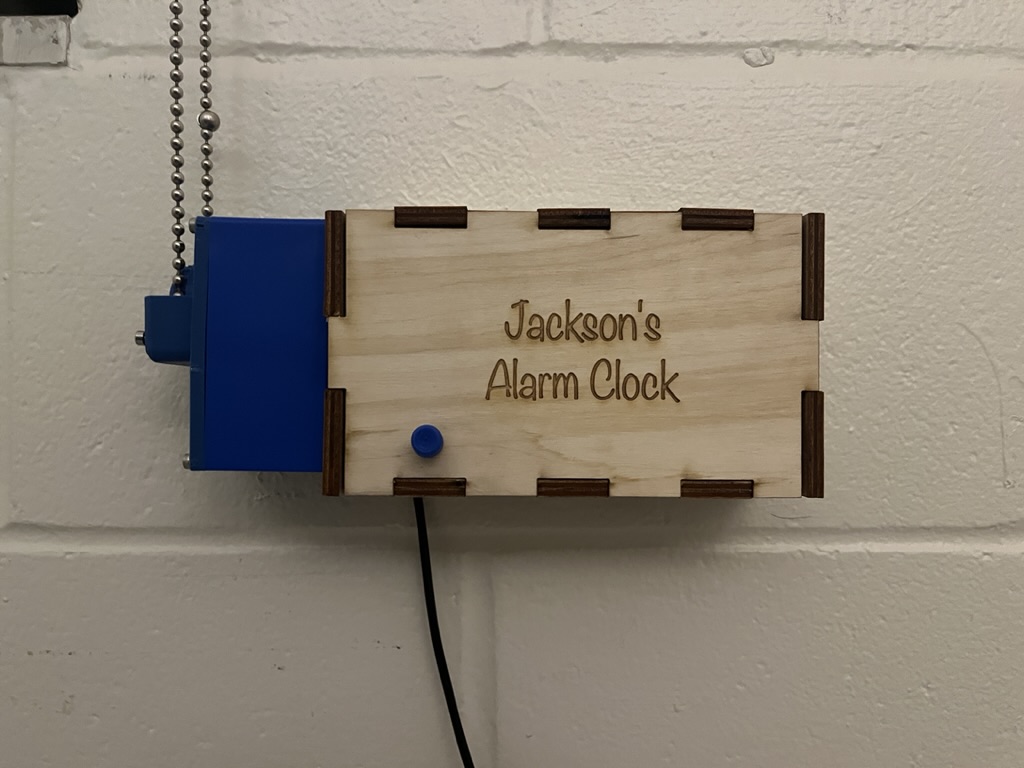
From there, it was simply a matter of wiring everything together and fitting it within a laser cut enclosure (using a similar process as with the Week 11 system). To my surprise, everything still worked once put together—I was ready to start using my alarm!
For reference, the full code running on the ESP32 is below, along with download links to the stepper motor case, water reservoir, nozzle, and laser cut enclosure.
  #include <AccelStepper.h>
  #include <WiFi.h>
  #include <HTTPClient.h>
  #include <ArduinoJson.h>

  const int stepPin = 13;
  const int dirPin = 12;
  const int pumpPin = 18;
  unsigned long previousMillis = 0;
  boolean pump = false;

  const char* ssid = "INSERT WIFI NAME HERE";
  const char* password = "INSERT WIFI PASSWORD HERE";

  String url = "https://ps70-final.vercel.app/state";

  int state = 0;
  int pastId = 0;

  AccelStepper stepper(1, stepPin, dirPin);

  void blindUp() {
    stepper.runToNewPosition(10000);
  }

  void blindDown() {
    stepper.runToNewPosition(0);
  }

  void sendRequest() {
    if ((WiFi.status() == WL_CONNECTED)) {
      HTTPClient http;
      http.begin(url);
      int httpResponseCode = http.GET();
      if (httpResponseCode > 0) {
        DynamicJsonDocument doc(400);
        String payload = http.getString();
        Serial.println(payload);
        DeserializationError error = deserializeJson(doc, payload);
        if (error) {
          Serial.println("Deserialization Error");
          return;
        }
        int newId = int(doc["id"]);
        if (newId != pastId) {
          state = int(doc["state"]);
          pastId = newId;
        }
      }
    }
  }

  void setup() {
    Serial.begin(9600);

    pinMode(pumpPin, OUTPUT);
    digitalWrite(pumpPin, HIGH);

    WiFi.mode(WIFI_STA);
    WiFi.begin(ssid, password);
    while (WiFi.status() != WL_CONNECTED) {
      Serial.println("Connecting to WiFi");
      delay(1000);
    }
    Serial.println("Connected to the WiFi network");

    stepper.setMaxSpeed(500);
    stepper.setAcceleration(500);
  }

  void loop() {
    unsigned long currentMillis = millis();
    sendRequest();

    if (state == 1) {
      digitalWrite(pumpPin, HIGH);
      blindDown();
    } else if (state == 2) {
      blindUp();
    } else if (state == 3) {
      if (currentMillis - previousMillis >= 400) {
        previousMillis = currentMillis;
        if (pump) {
          digitalWrite(pumpPin, LOW);
        } else {
          digitalWrite(pumpPin, HIGH);
        }
        pump = !pump;
      }
    }
}Overall, I am quite happy with how this project turned out! It accomplishes everything that I set out for it to do, and I look forward to using it in my own life in the coming semesters. While I put countless hours into this project (and spent many late nights in the lab), seeing it all come together and being able to present it to others at the PS70 fair made it all worth it!
That being said, no project is perfect, and there are certainly a couple areas that I could improve upon if given more time. In particular, the current software is only designed to handle one alarm and alarm clock at a time. However, it would be cool to scale the backend up to handle multiple devices with multiple alarms on each. Additionally, the 3D printed water reservoir is subject to leaking and cannot be sealed off. However, this issue could be resolved using vacuum forming or a similar technology.
Going forward, I want to continue working on these goals and really take this project to the next level. If you're interested in learning more or helping me out, please reach out!