
Week 5
This week, we were tasked with 3D printing an object which could not be easily made using more traditional manufacturing methods.
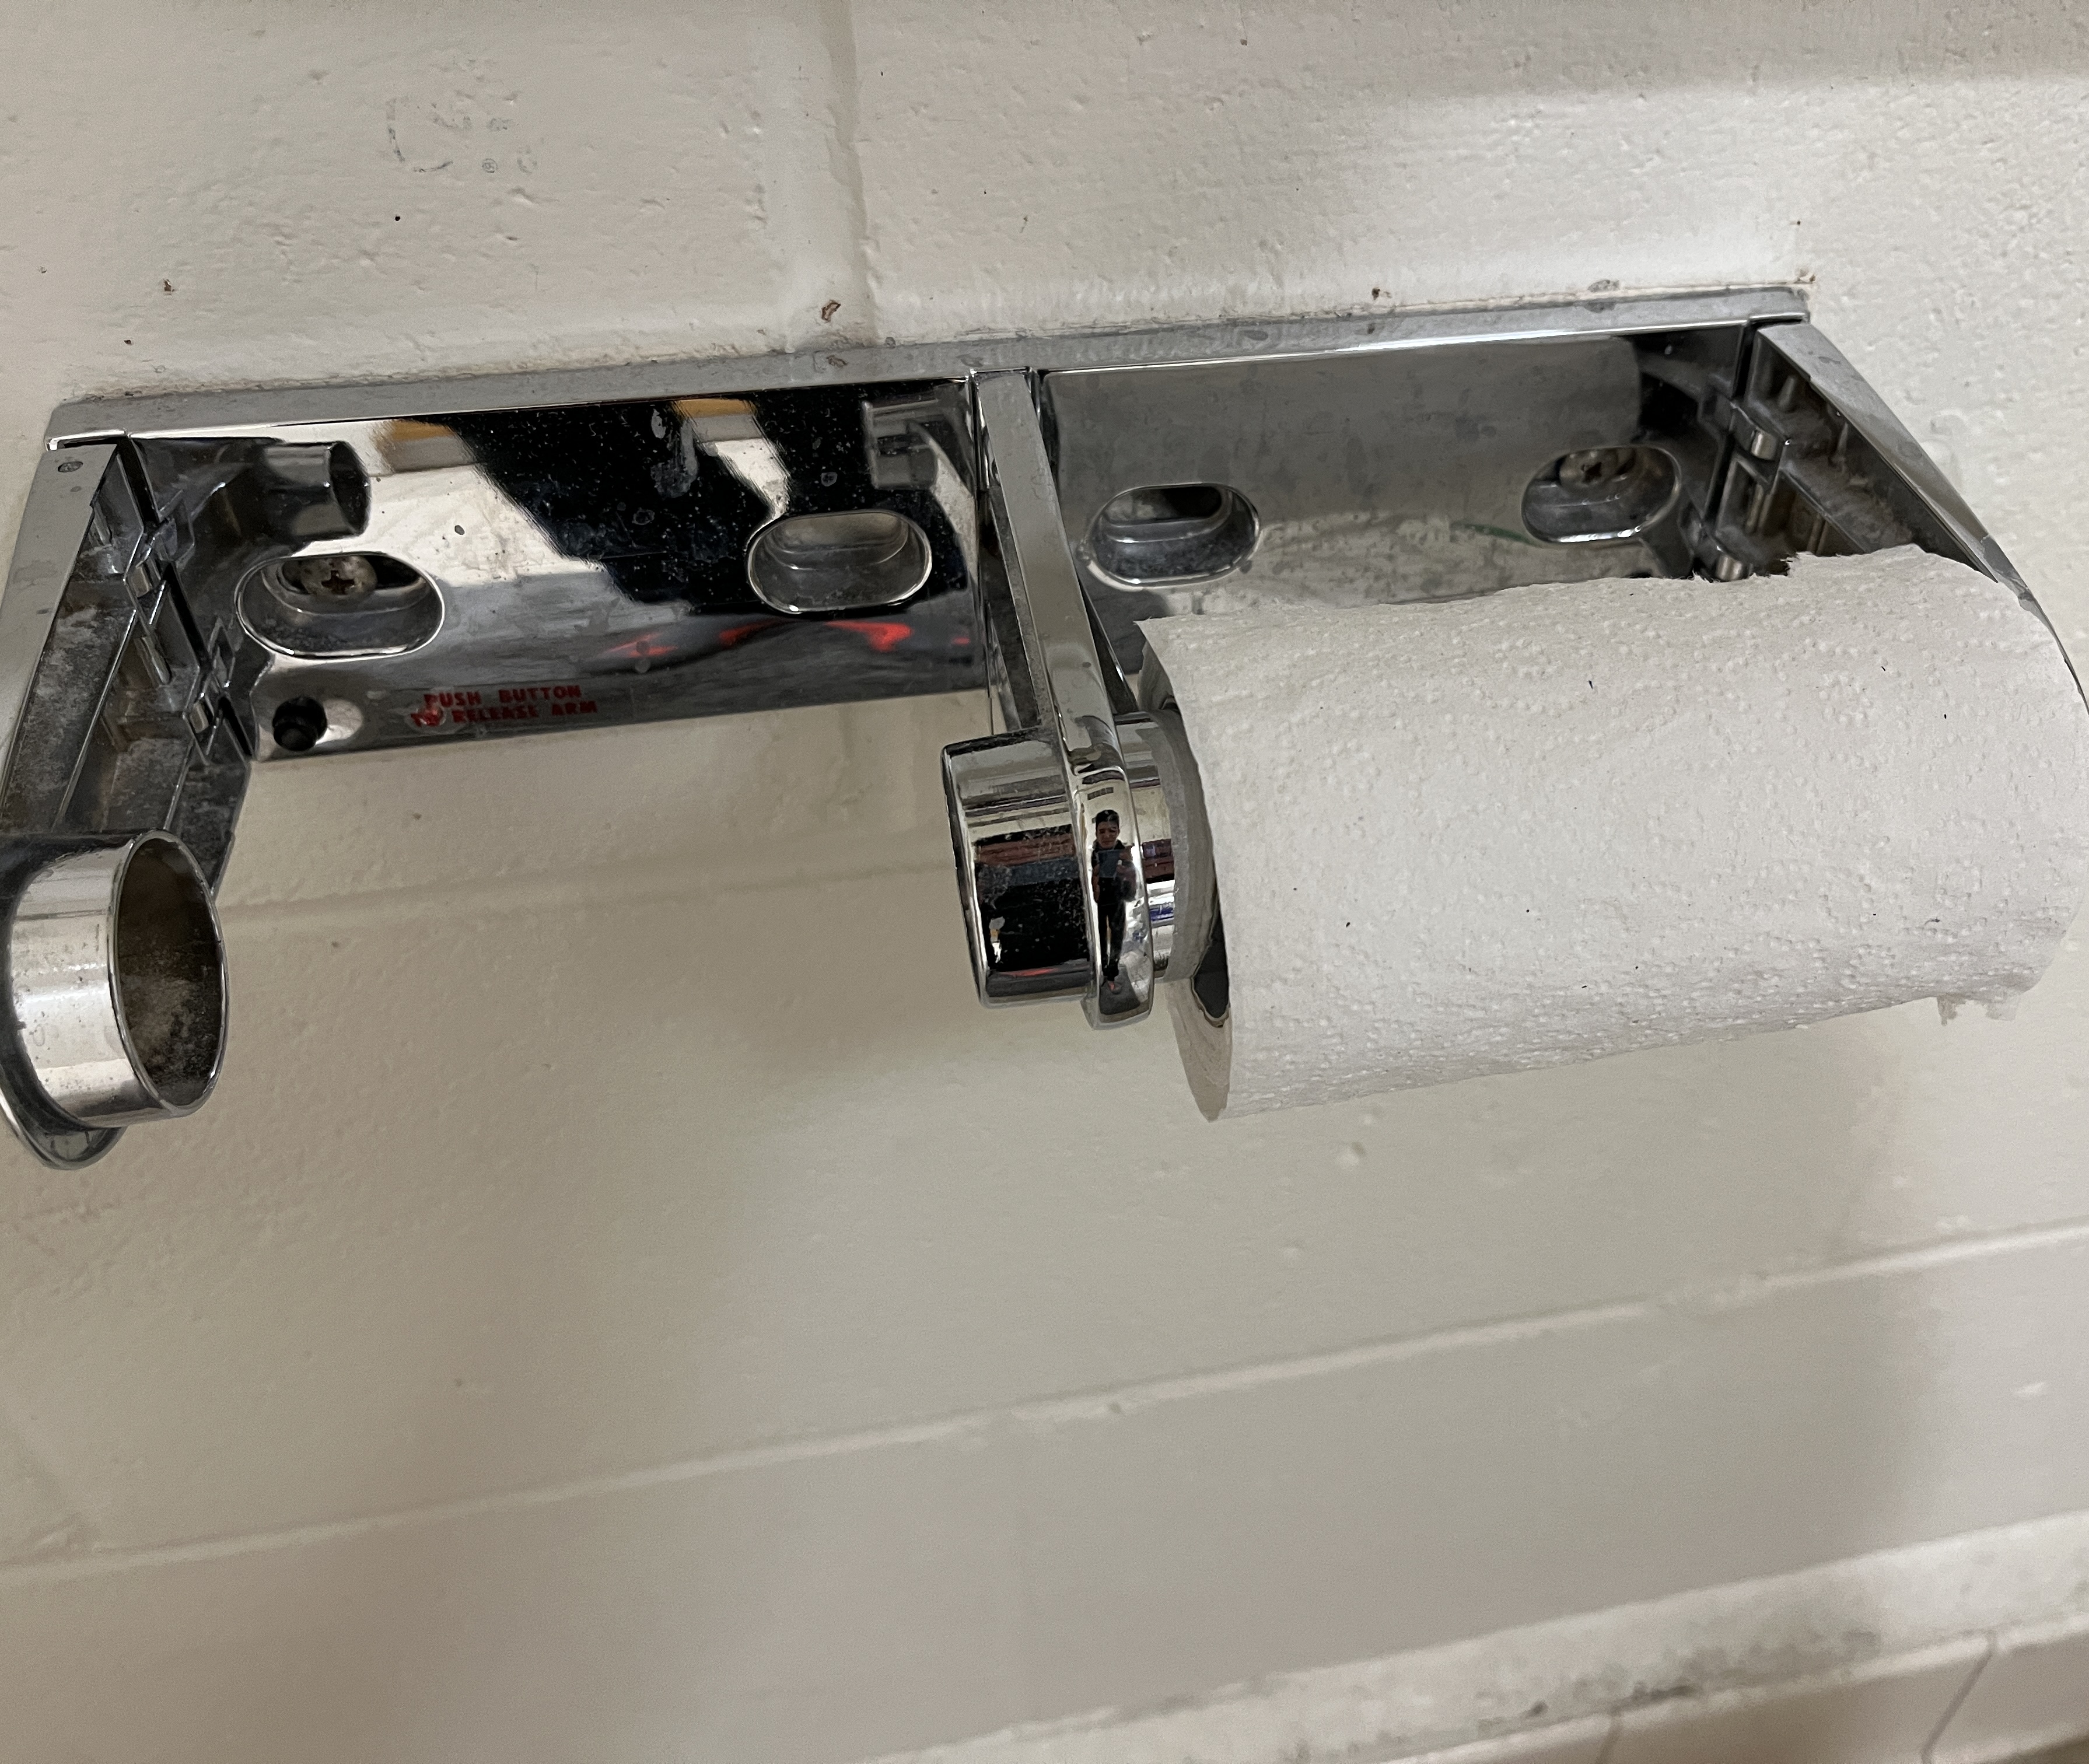
Since the beginning of the year, our ensuite bathroom has been lacking a toilet paper holder. As a result, rather than placing our toilet paper in the proper spot, we placed it in various other places around our bathroom.
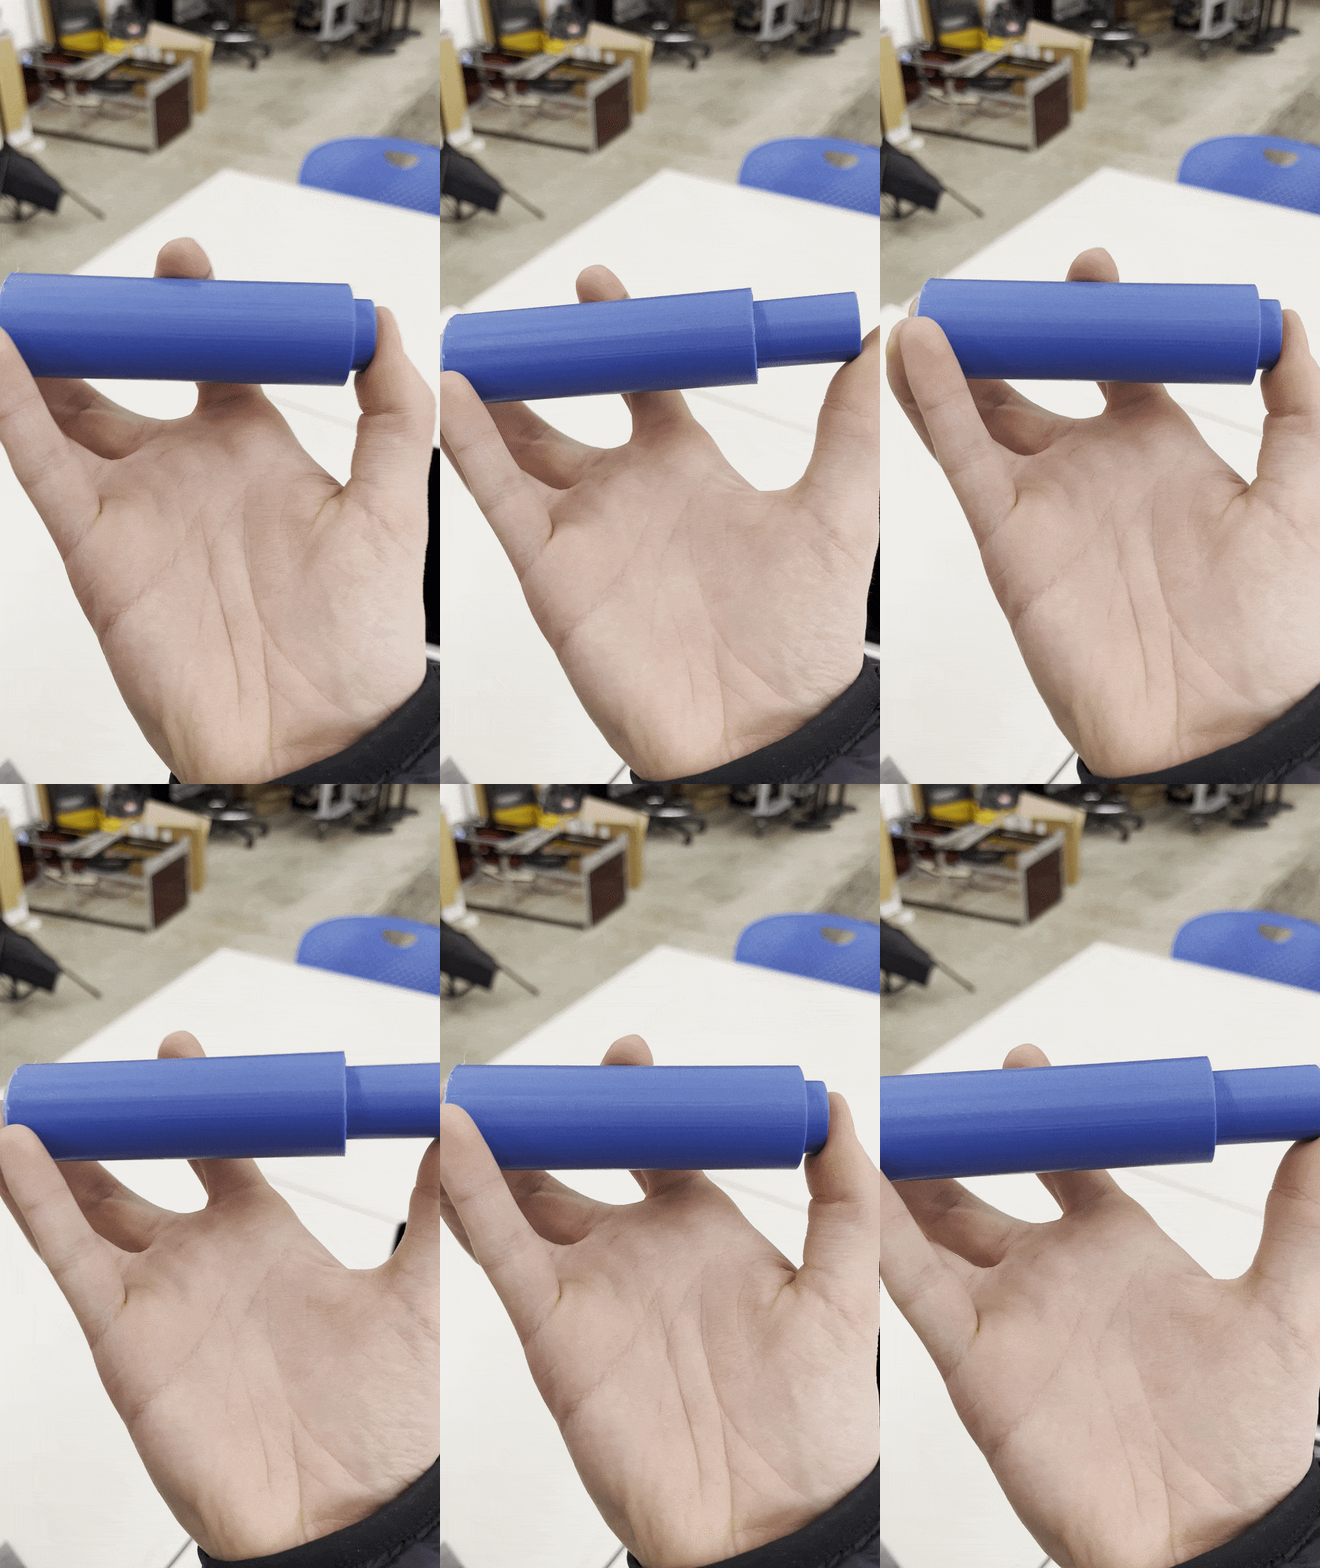
Noticing this, I decided to 3D print a toilet paper holder. Given that this part contains an inner sliding rod, as well as a spring to push the rod into the correct position, it seemed like a good candidate for 3D printing. To model the part, I simply extruded a cylinder of the appropriate length and offset an additional cylinder within this outer cylinder to slide in and out of the part. This way, I can insert toilet paper onto the rod then insert the rod onto the holder without the rod falling off.
To create this part, I started the print off hollow, paused it at a certain z-height to insert a spring, and then continued the print. While the continued print did droop a little due to the bridging necessary to span the spring, the result was printed all in one piece and was capable of functioning right off the printer! Now, it works great in our ensuite bathroom :)
Unfortunately, the 3D scanner that we were supposed to use for this week's assignment was not working correctly during our lab. However, as an alternative, I was able to download the Polycam 3D scanning app on my iPad.
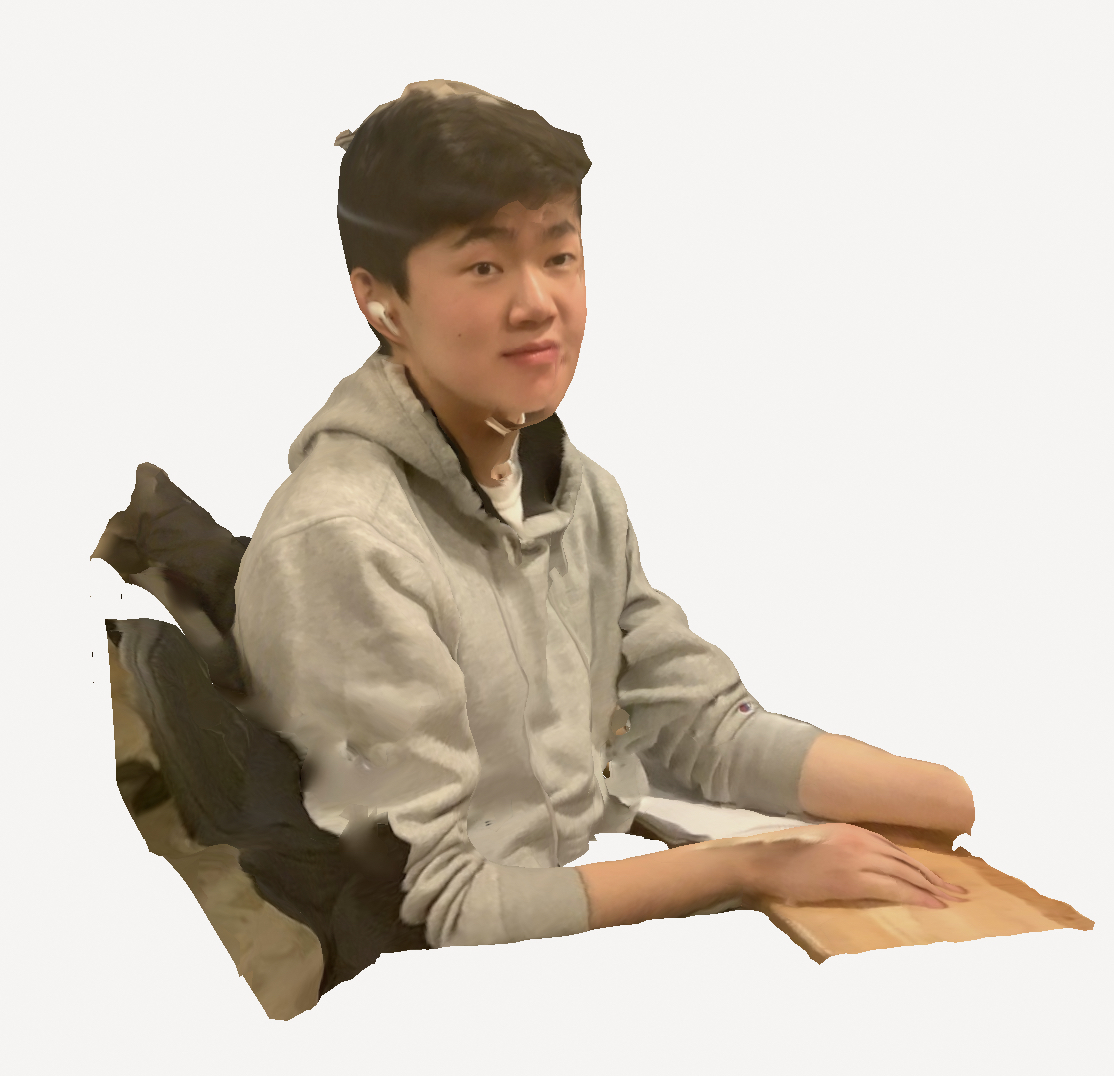
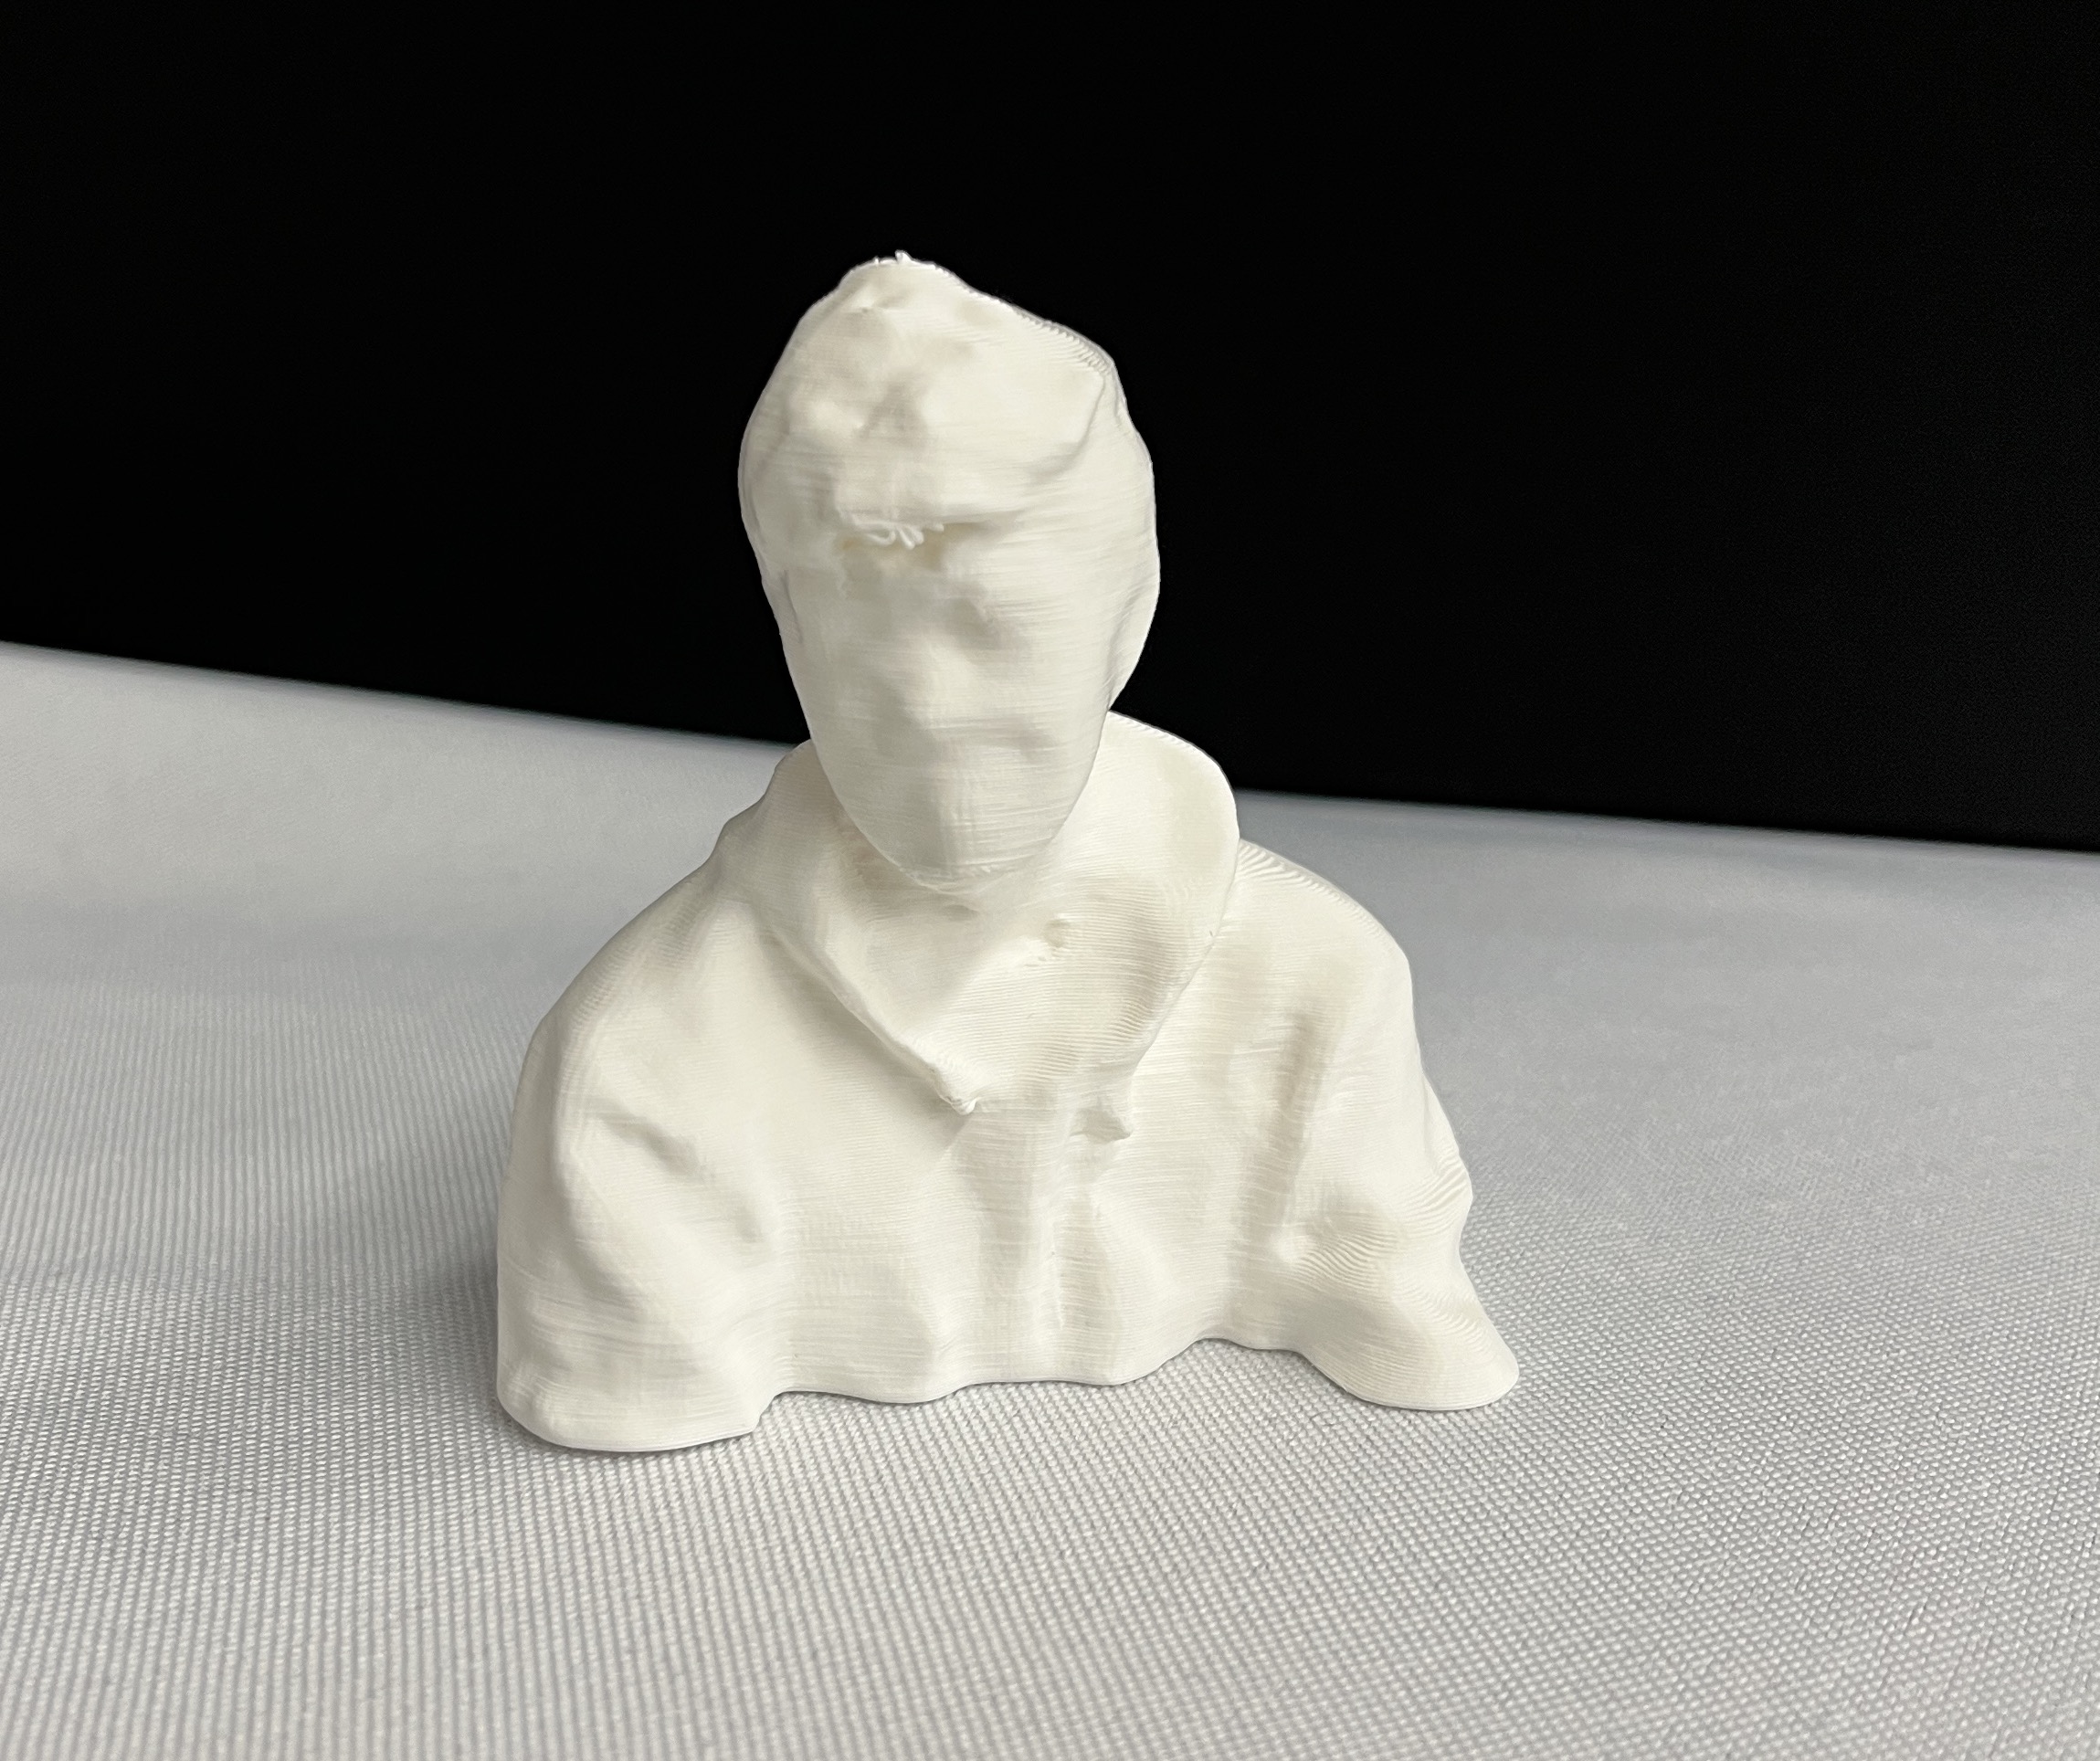
This app uses photogrammetry techniques to construct a 3D model, meaning that you need to take lots of photos of the object you are scanning at various different angles to construct a complete model. After performing this process a couple of times, I quickly learned the importance of keeping the subject still during scanning. I also learned that the 3D scans would not be ready for 3D printing right out of the scanner. Instead, I ended up using Meshmixer and the "make solid" command to fill in any gaps in the scan before printing.
Ultimately, I chose to scan my friend Evan and 3D print him. While some detail was lost in his face and body, I think the overall result turned out pretty good!
Bill of Materials
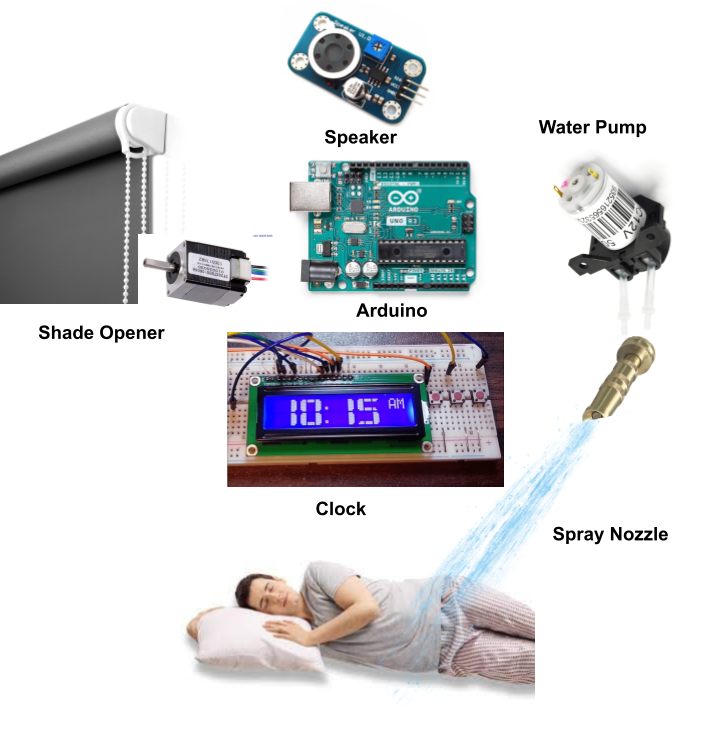
While I haven't completely finalized the various aspects of my project, the following components will probably be necessary:
- 1 x LCD Display - For displaying the current time and/or the status of the alarm
- 1 x LCD Display Driver - For allowing the Arduino or ESP 32 to interface with the LCD display.
- 1 x Arduino Uno or ESP 32 - For controlling the logic of the system. That is, reading in inputs from the sensors and instructing the various output devices as appropriate.
- 1 x Speaker - For playing alarm noises
- 1 x Push Button - For silencing the alarm
- 1 x Water Pump - For transporting water from a reservoir to the spray nozzle.
- 1 x Spray Nozzle - For dispersing the water into a mist over the user.
- 1 x DC Motor - For moving the curtain blinds up and down.
- 1 x DC Motor Driver - For allowing the Arduino or ESP 32 to drive the motor at the appropriate current/voltage.
Project Plan
While I would ideally start preparing for this project as soon as possible, realistically I will not begin focusing on the project until the final four weeks of the course.
Week 1: In the first week, I am planning on preliminary prototyping. That is, I will focus on using existing materials in the shop to test my ideas before utilizing any components that may have to be ordered in. In particular, I will probably focus on designing a mechanism to roll my window shade up and down using a singular motor, as well as a mechanism to attach a water resorvoir to a pump.
Week 2: In the second week, I will begin assembling my final project. This will entail deciding on a layout for all of the components, milling or laser cutting a custom base for all of the components, 3D printing difficult geometries (such as a custom motor mount or "blind holder"), and wiring all of the electircal components together.
Week 3: In the third week, I will finish up the assembly started in week 2 and write the software for the build. That is, I will write code to run on the Arduino or ESP 32 that will control the rest of the components at the appropriate times. Time permitting, I would also like to build a web app to connect to this build so that users can enable and disable their alarms remotely.
Week 4: In the final week, I will fix any bugs and iron out any kinks that will inevitably arise in the creation of this product. In particular, I imagine that creating a device to raise and lower the blinds in my room will be quite challenging. However, I will use the time in this week to fix any of these issues, as well as to publish the documentation for the project on this website.